Hero
Step 1

Choose Your Template

Select a design foundation for your practice website. Every template is fully customizable — and we can mix and match elements from different templates to fit your style.
Free website hosting & design included with Hero EMR. We build, host, and maintain your practice website at no cost. Pick a template, and we'll handle the rest — domain setup, custom branding, booking integration, blog, and ongoing updates.
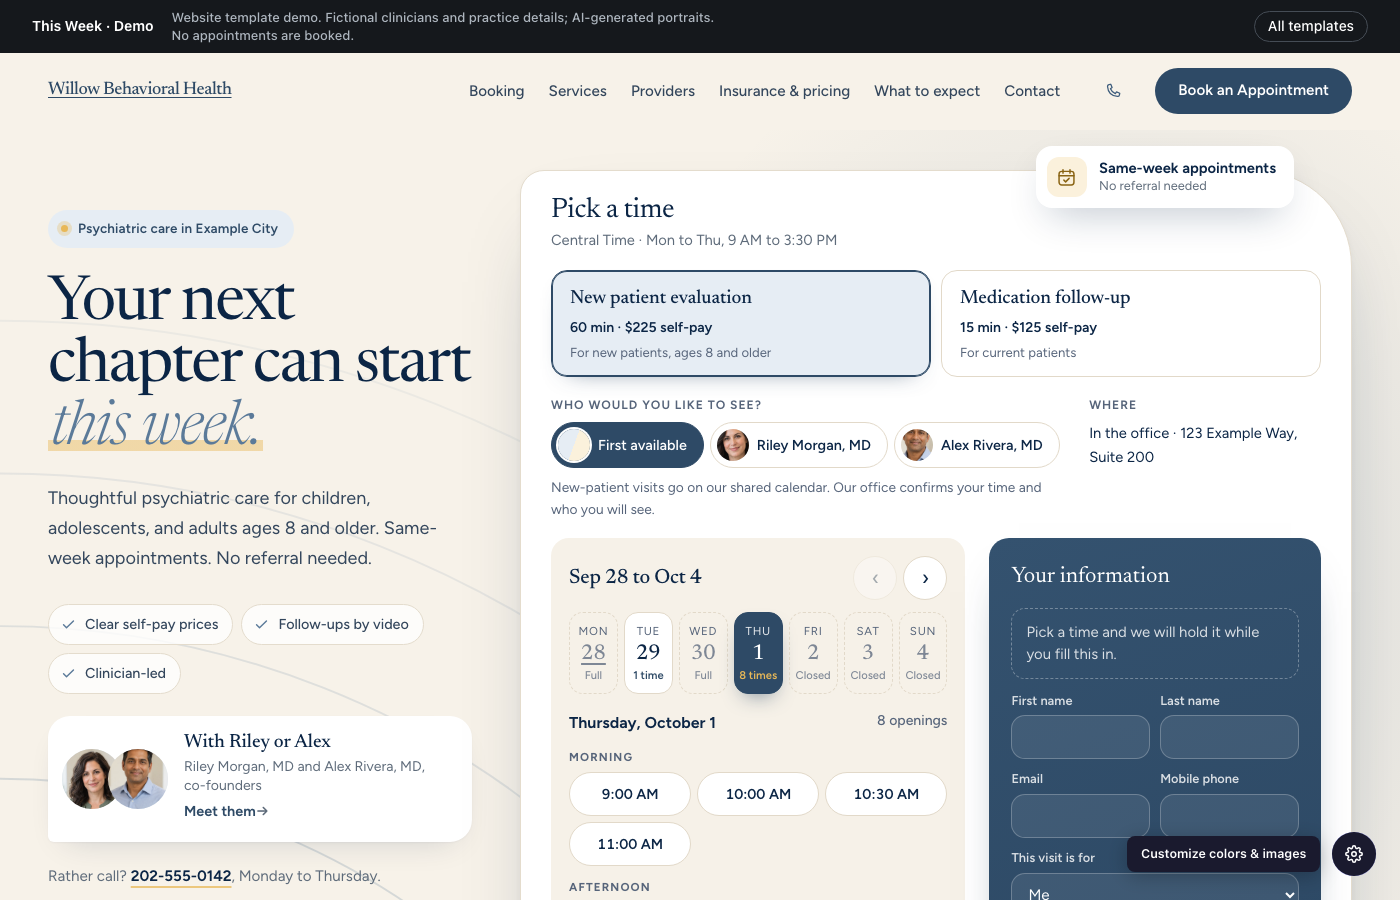
This Week website preview

This Week

Psychiatry

A calendar in the first screen, with clear visit choices and a welcoming clinical feel.

Preview
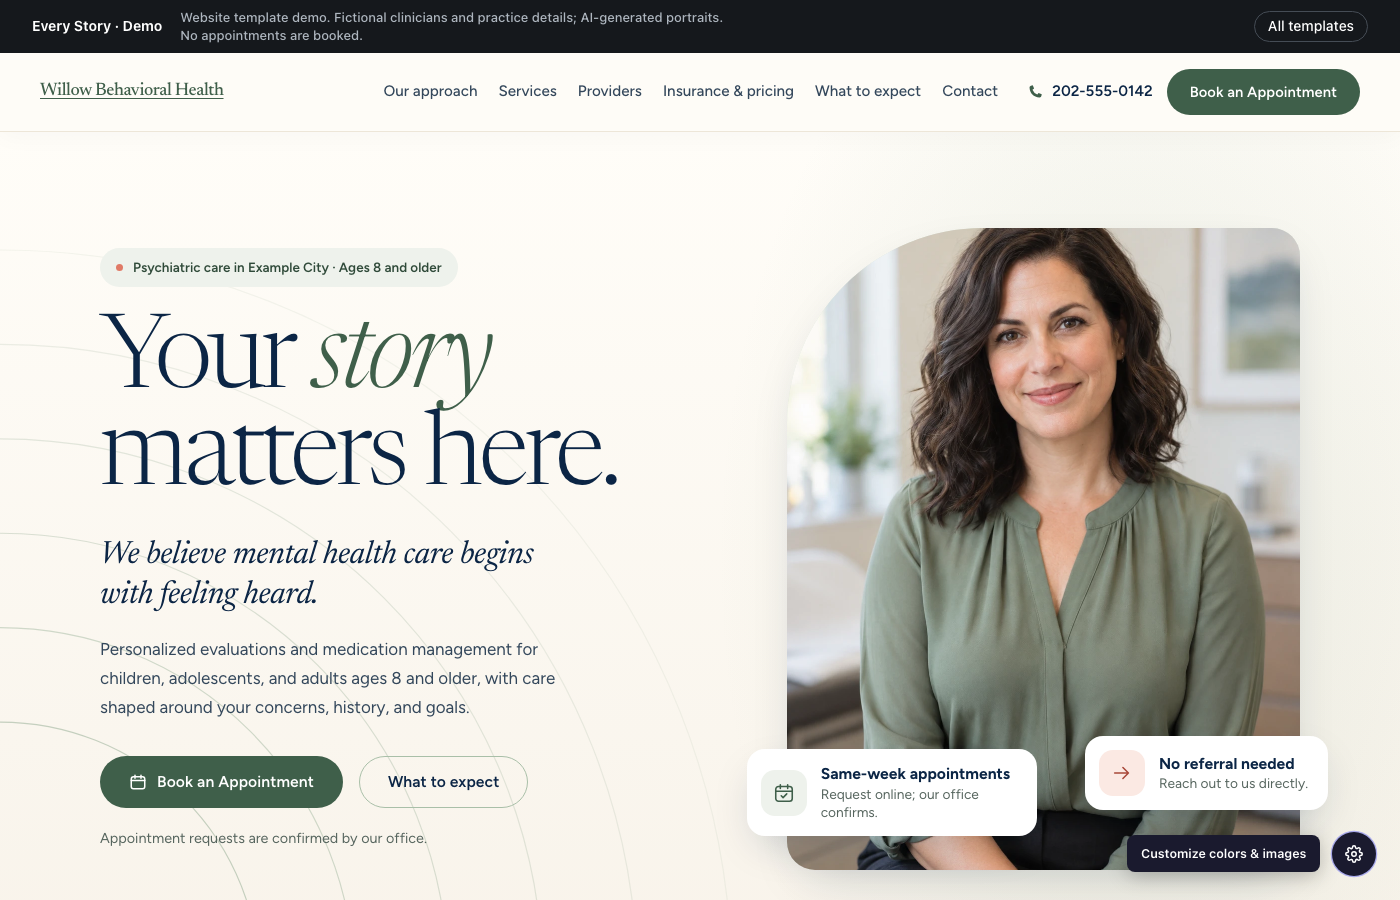
Every Story website preview

Every Story

Psychiatry

An editorial introduction to care, with generous portraits and a personal approach.

Preview
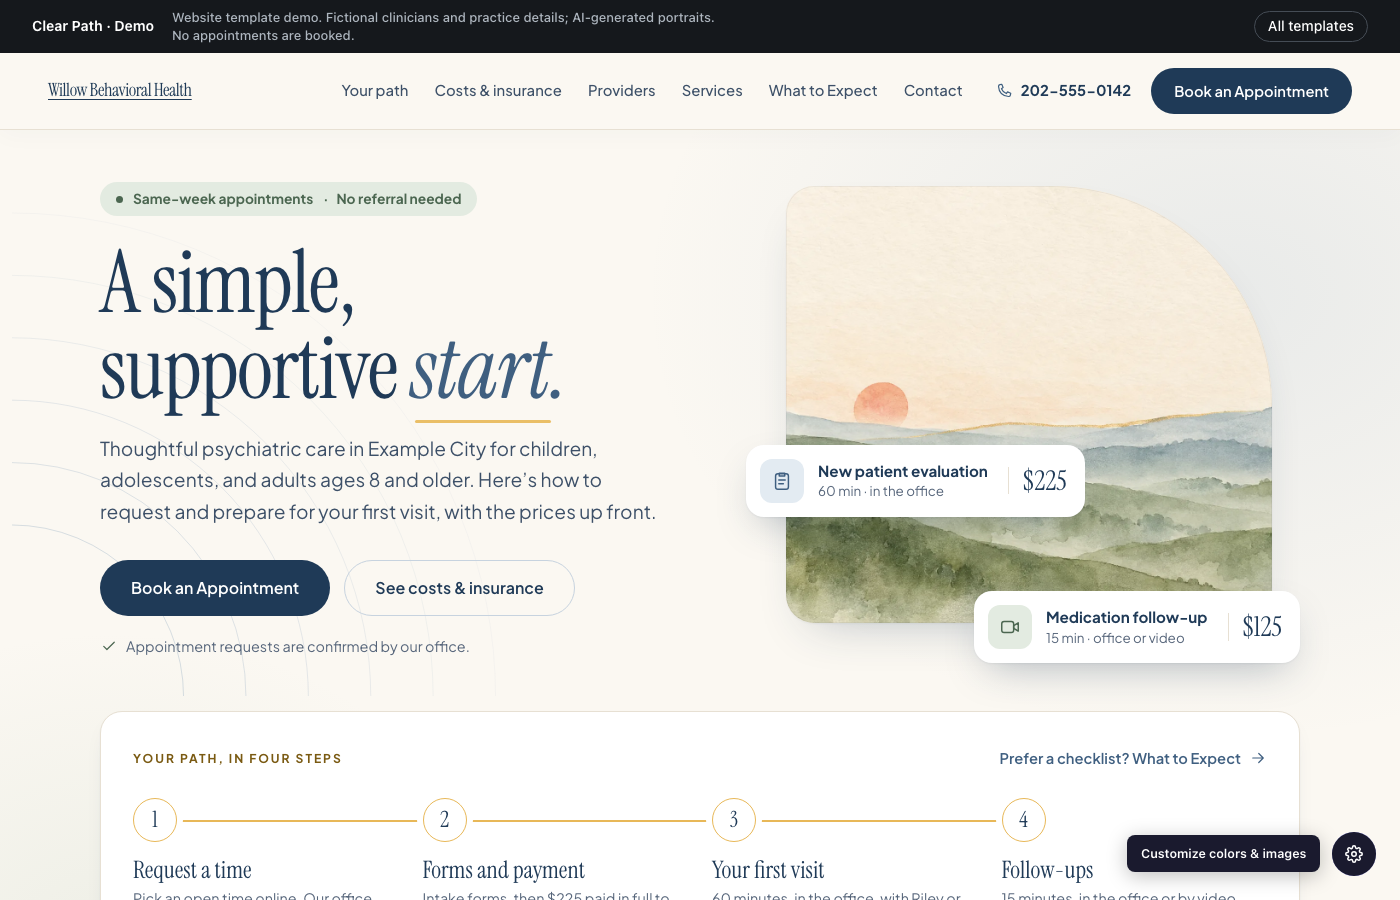
Clear Path website preview

Clear Path

Psychiatry

A guided path from choosing a visit to the first appointment, with watercolor accents.

Preview
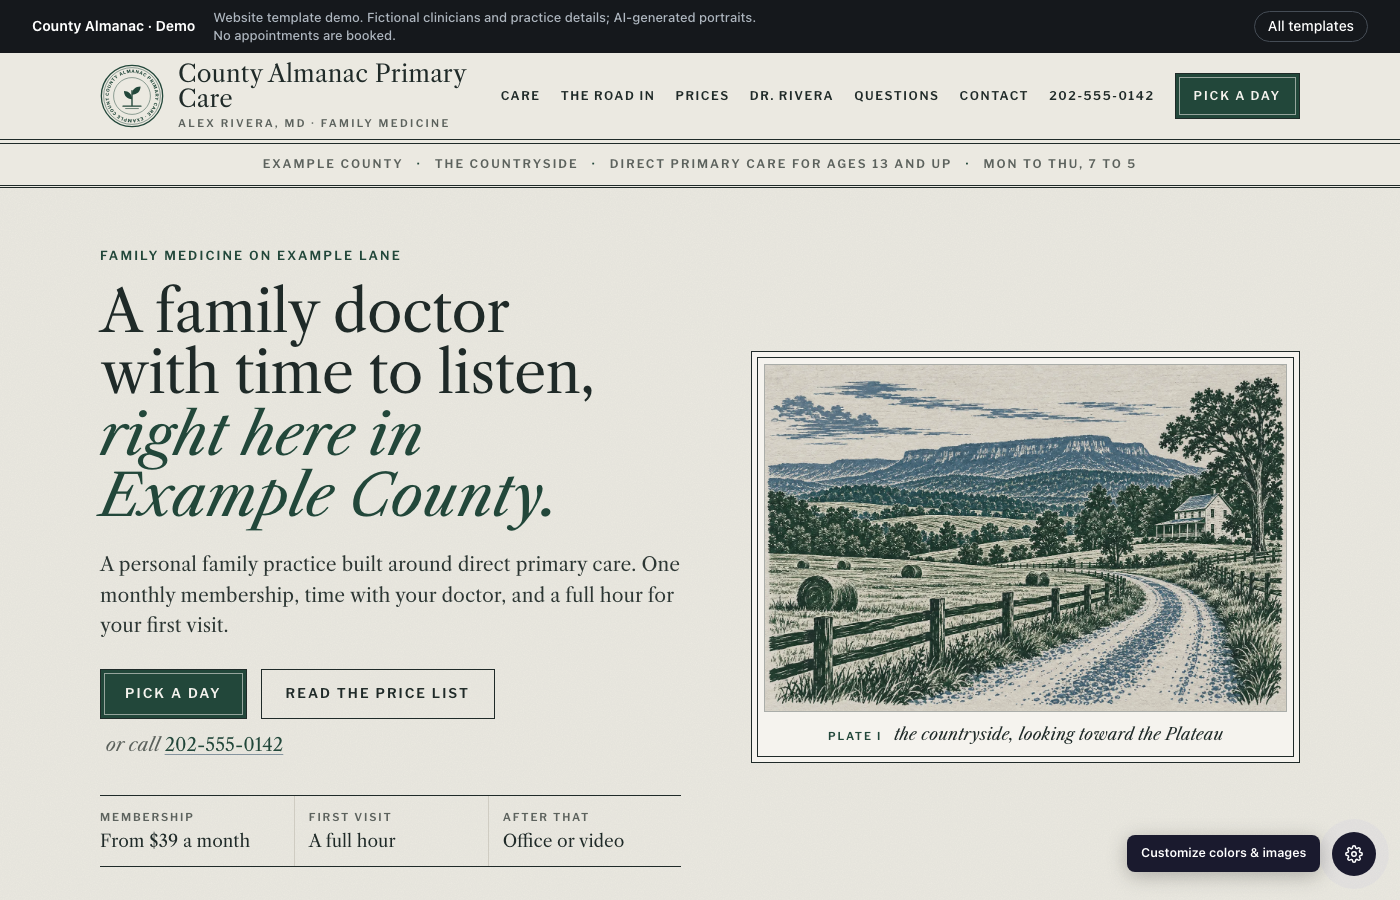
County Almanac website preview

County Almanac

Direct primary care

A printed almanac feel with woodcut landscapes, clear membership prices, and a calendar.

Preview
The Personal Physician website preview

The Personal Physician

01 · Family medicine

Warm editorial primary care, with generous typography and a personal physician story.

Preview
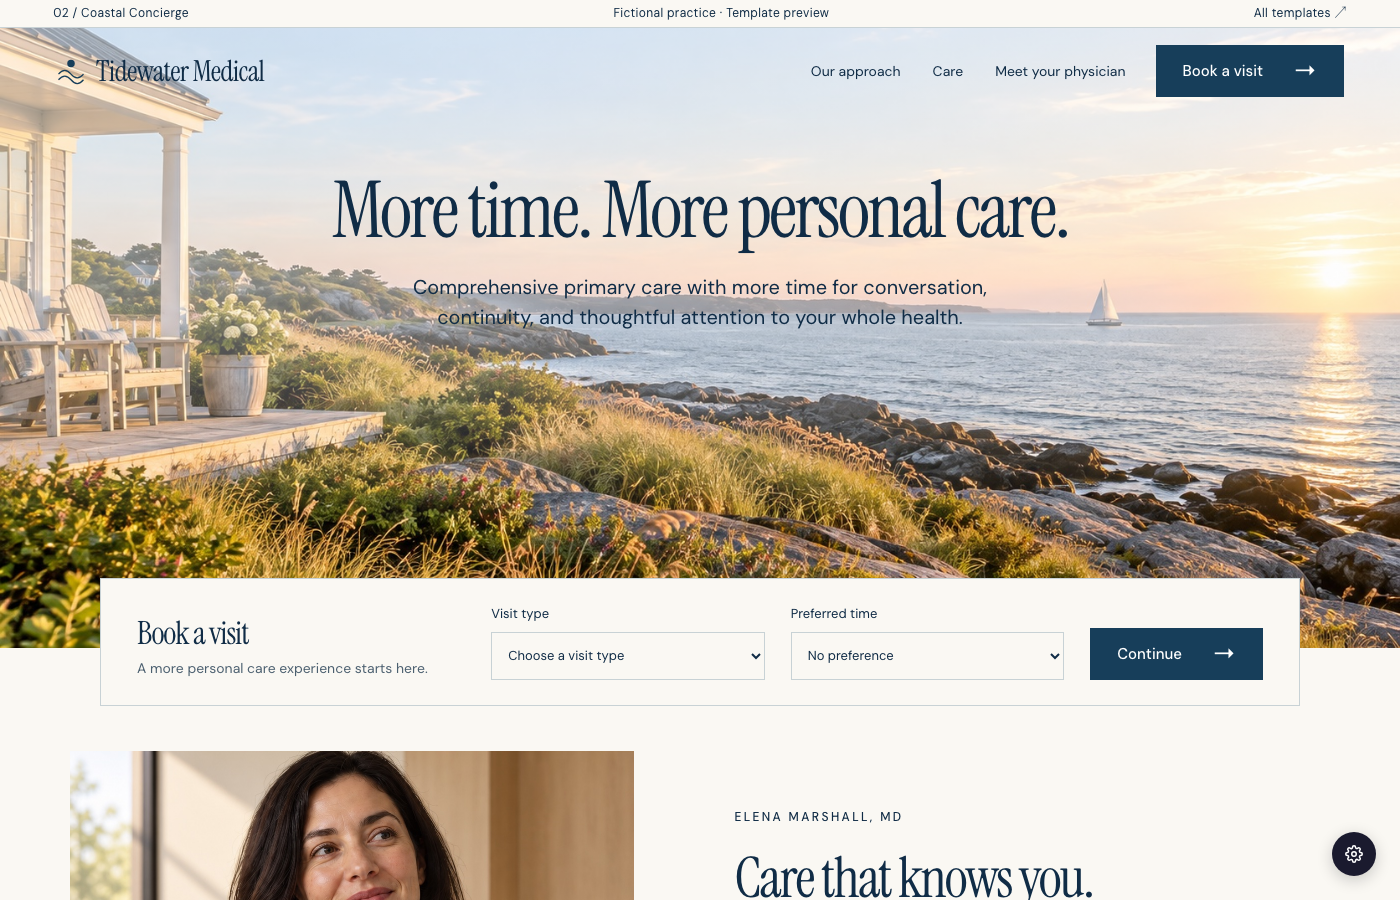
Coastal Concierge website preview

Coastal Concierge

02 · Concierge medicine

An expansive coastal hero with an elegant visit selector and concierge feel.

Preview
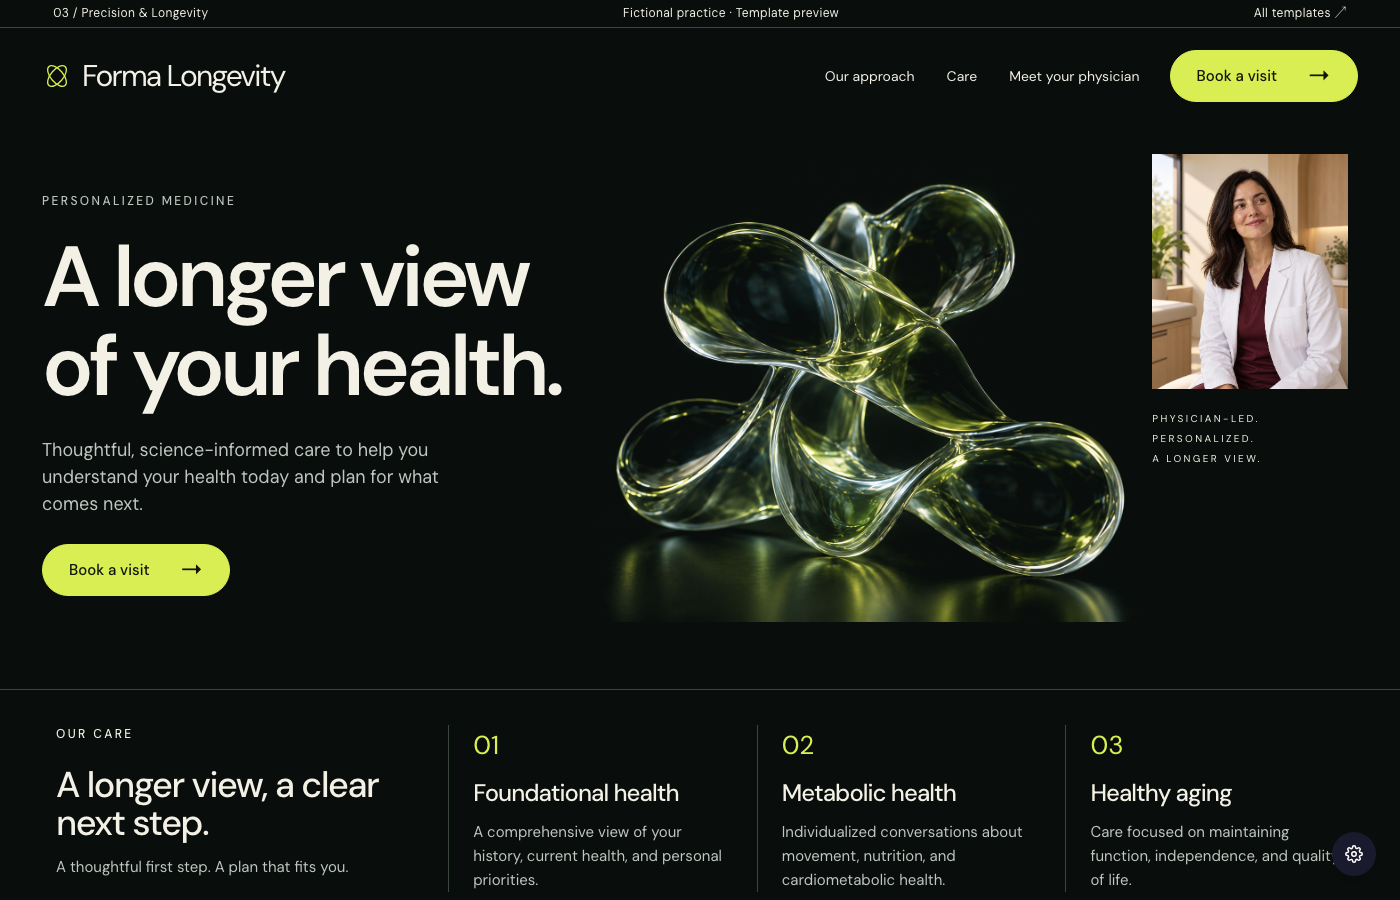
Precision & Longevity website preview

Precision & Longevity

03 · Longevity medicine

Dark glass forms, precise typography, and a forward-looking approach to health.

Preview
Sculptural Dermatology website preview

Sculptural Dermatology

04 · Dermatology

Sculptural portraits, terracotta accents, and an editorial approach to skin care.

Preview
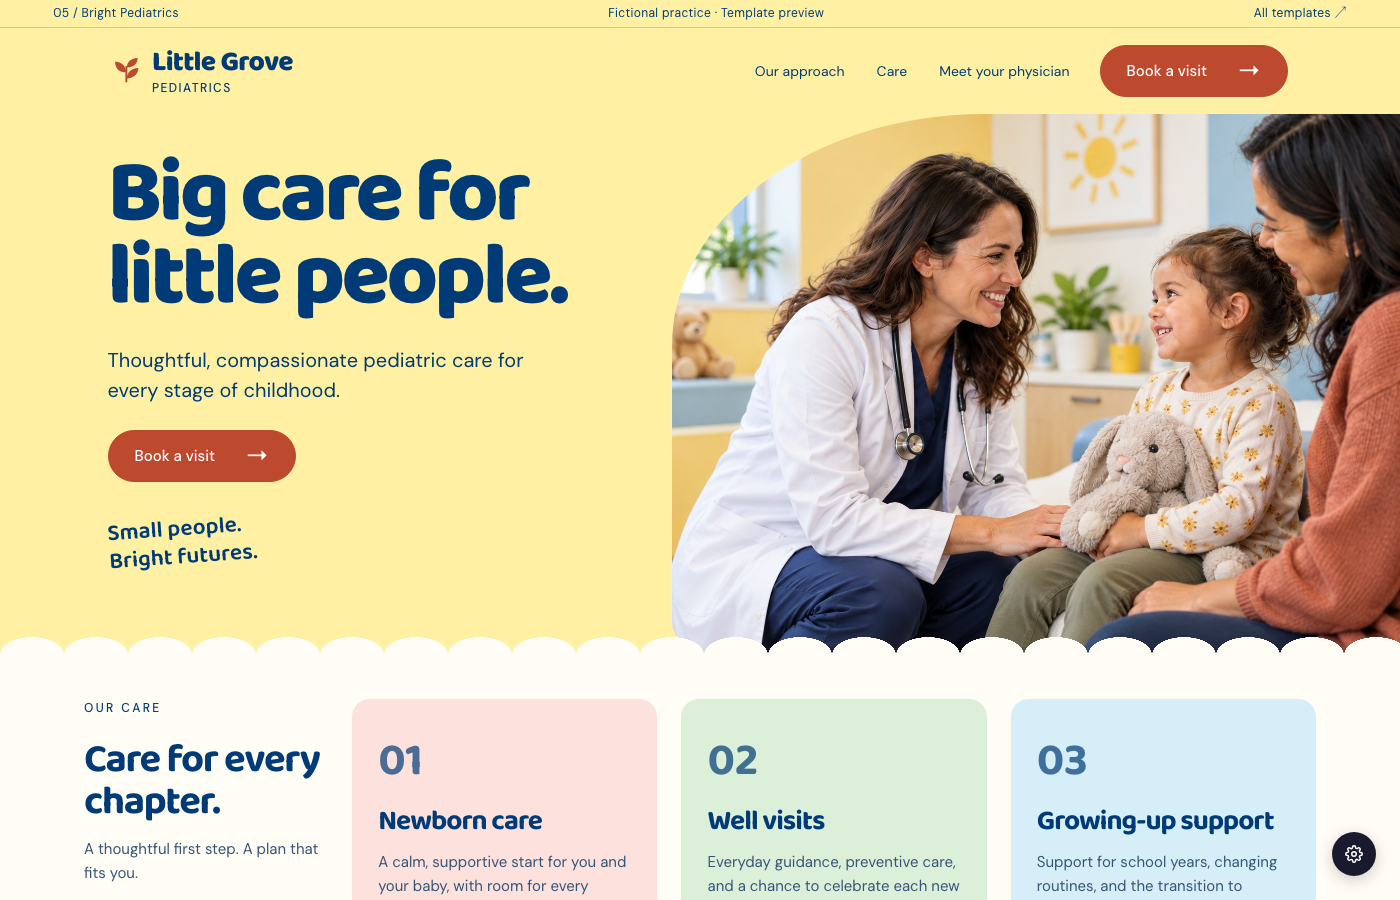
Bright Pediatrics website preview

Bright Pediatrics

05 · Pediatrics

Bright, friendly pediatrics with bold blue type and room for the whole family.

Preview
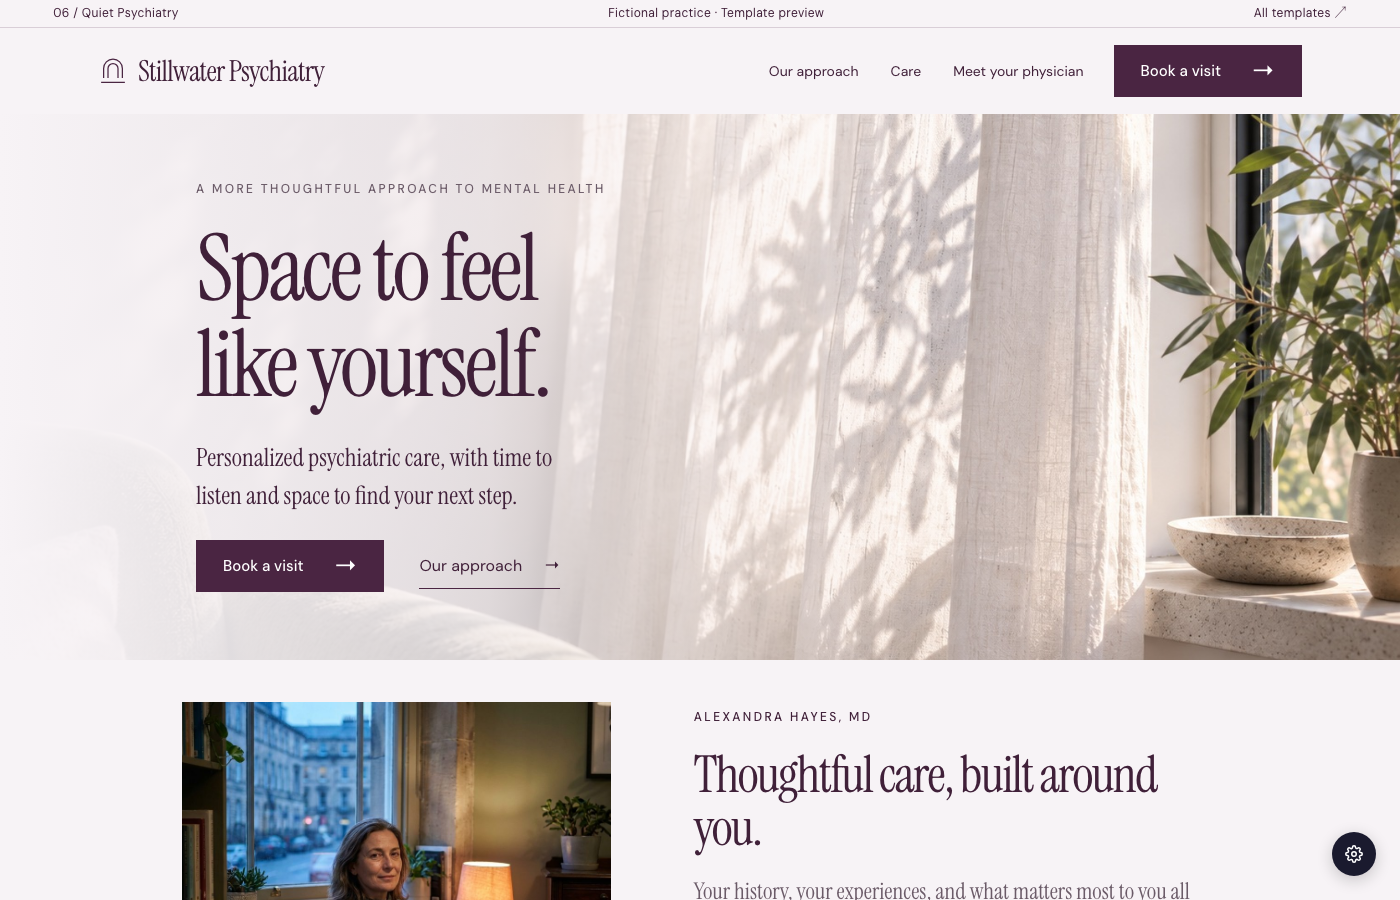
Quiet Psychiatry website preview

Quiet Psychiatry

06 · Psychiatry

Soft light, quiet typography, and a calm introduction to psychiatric care.

Preview
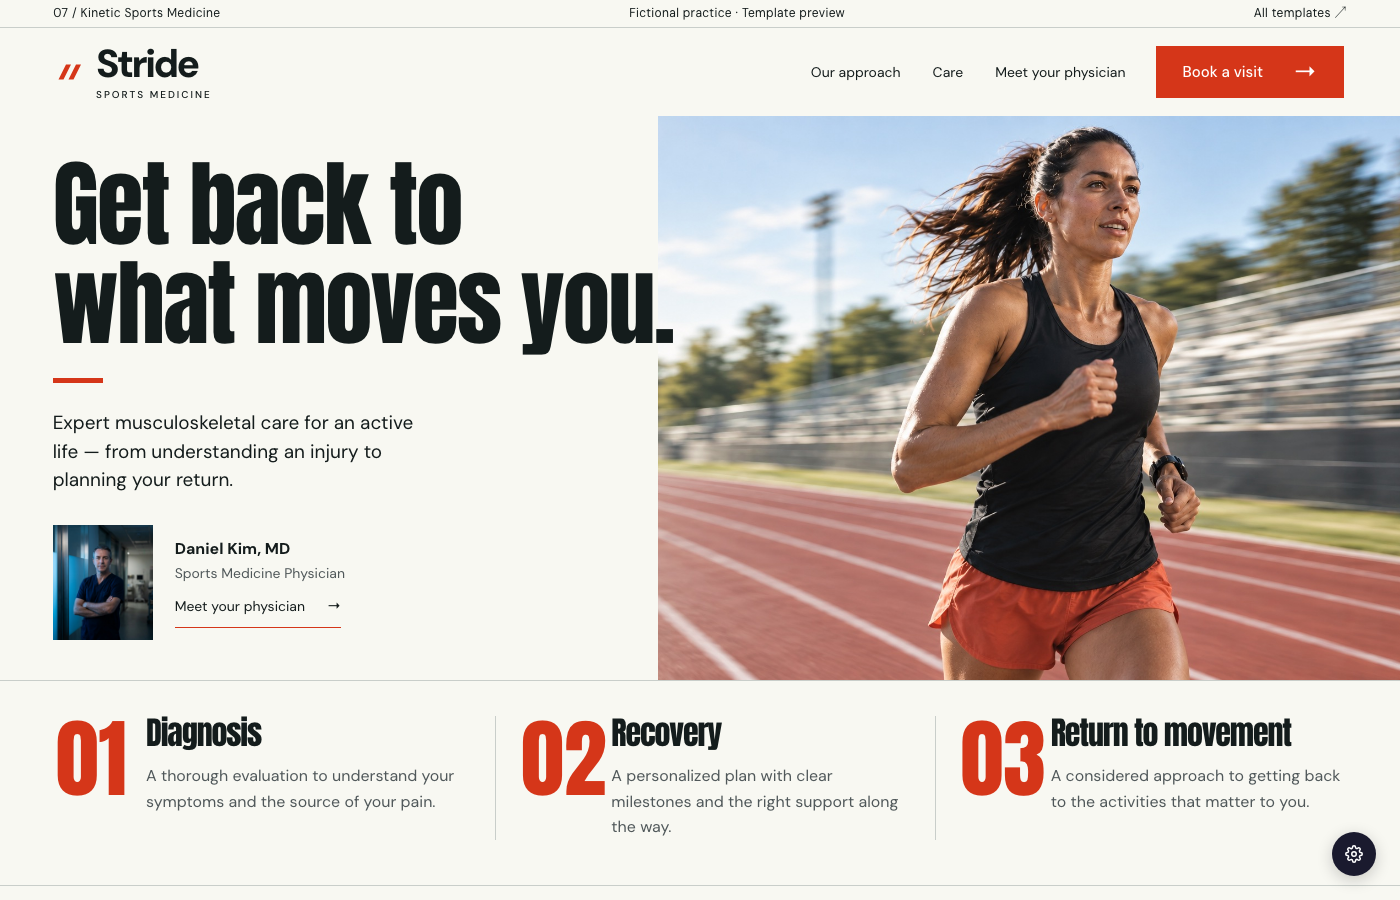
Kinetic Sports Medicine website preview

Kinetic Sports Medicine

07 · Sports medicine

Bold athletic typography, movement photography, and a clear path through recovery.

Preview
Modern Women’s Health website preview

Modern Women’s Health

08 · Women’s health

Rich burgundy panels and modern typography for care through every chapter.

Preview
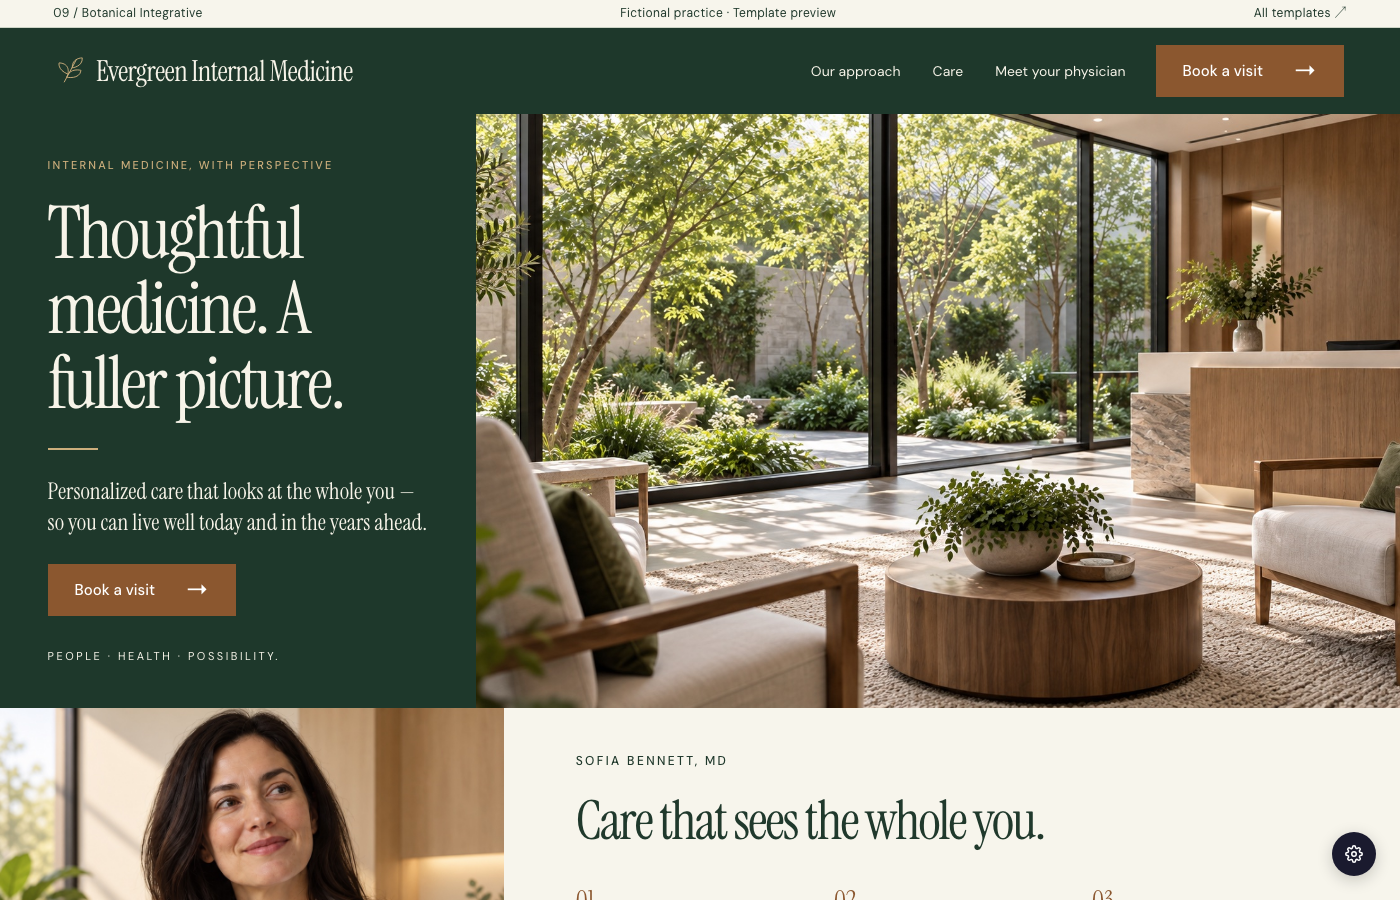
Botanical Integrative website preview

Botanical Integrative

09 · Internal medicine

Forest green, natural architecture, and a thoughtful whole-person perspective.

Preview
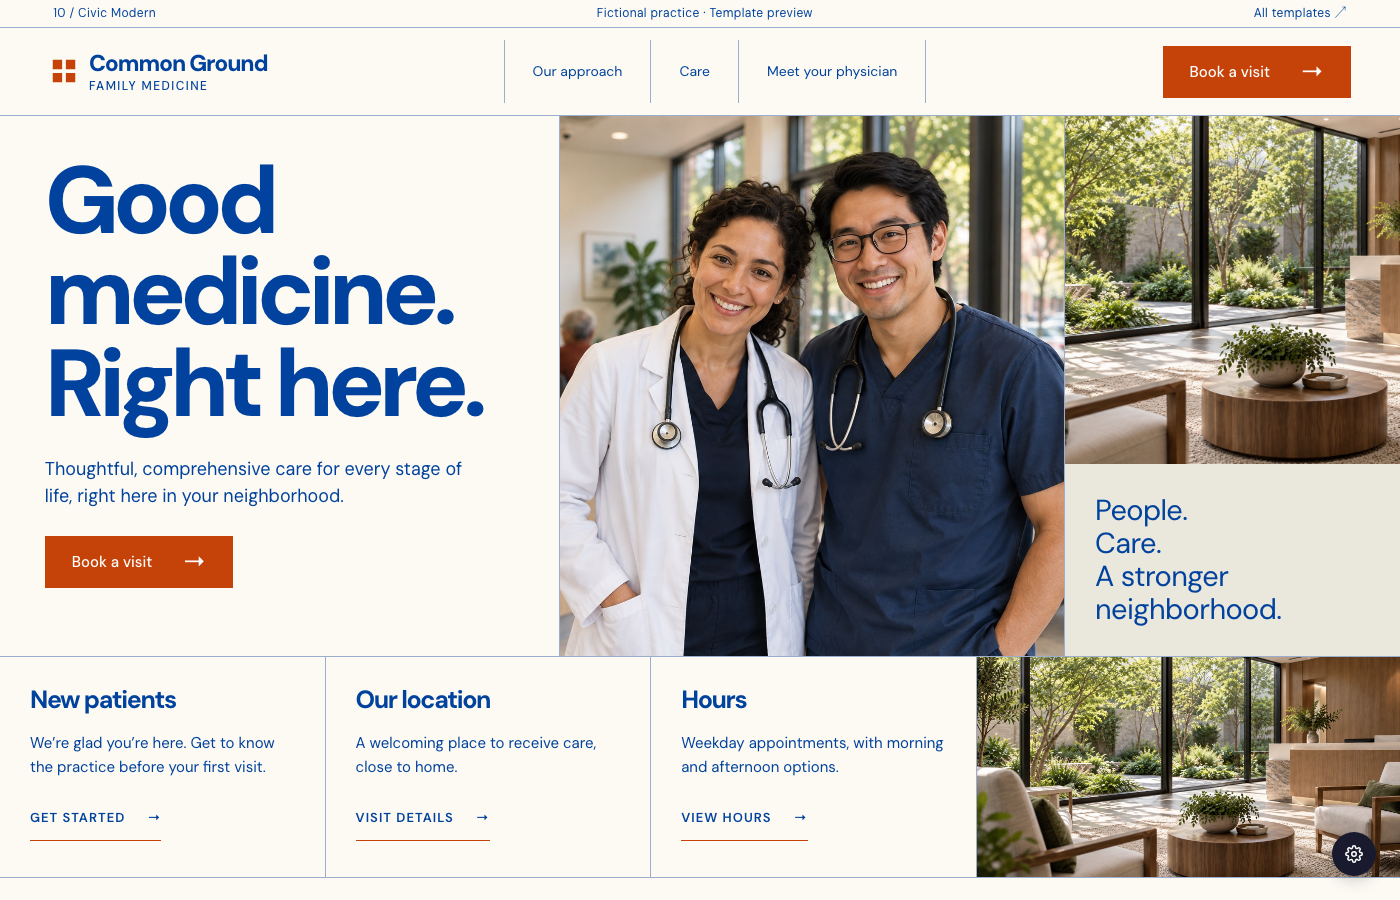
Civic Modern website preview

Civic Modern

10 · Family medicine

A confident blue grid and warm community photography for neighborhood medicine.

Preview
Marigold website preview

Marigold

Midwifery

Mustard-and-terracotta warmth: pebble-masked hero photo, sticker chips, curved trimester path.

Preview
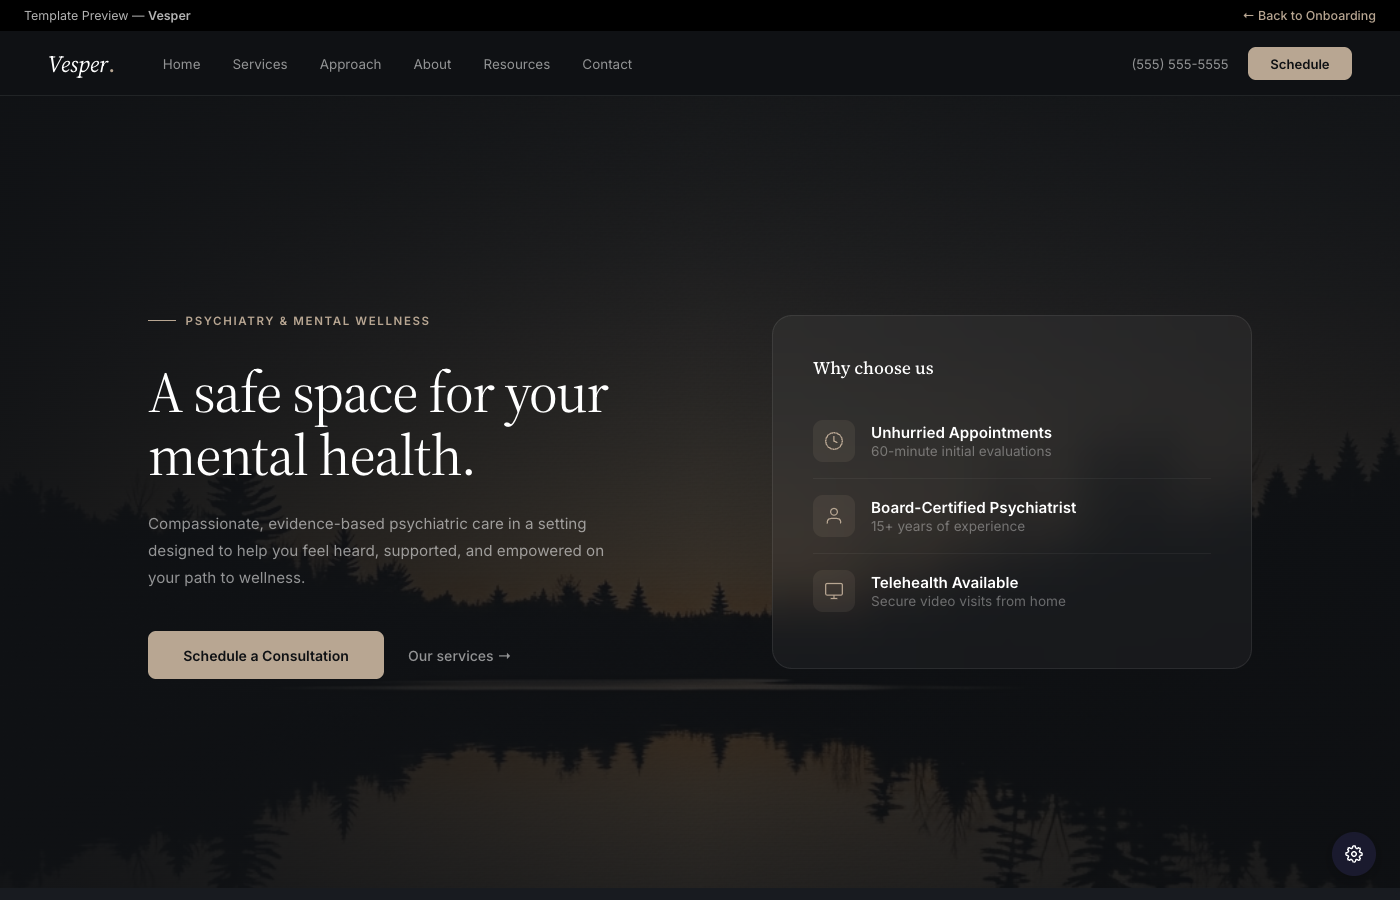
Vesper website preview

Vesper

Psychiatry

Dark glass panels with stone accents, a conditions grid and a care timeline.

Preview
Pip website preview

Pip

Pediatrics

Bright blue and butter yellow with playful rounded shapes and a family focus.

Preview
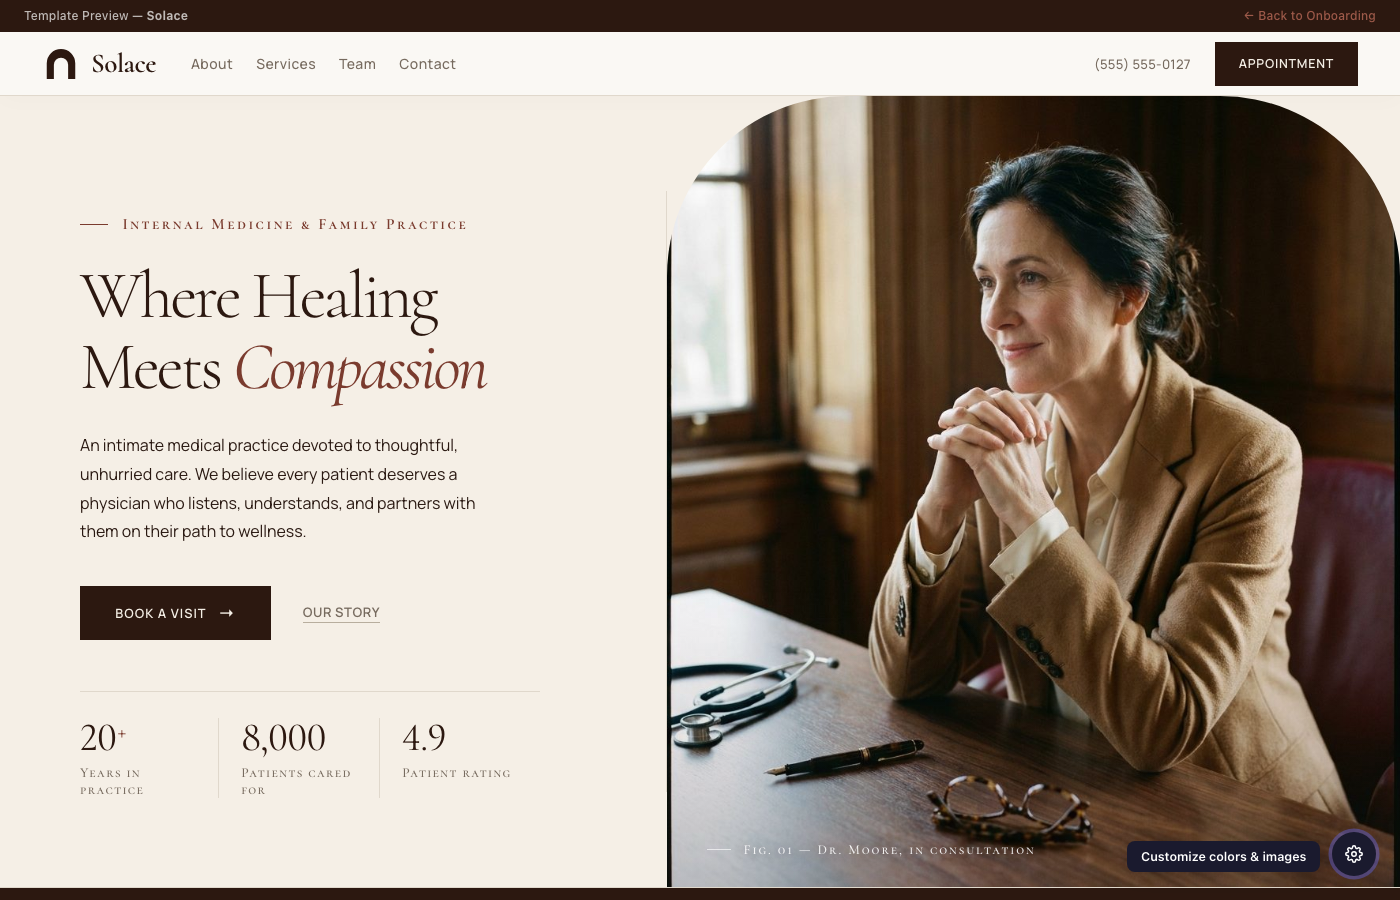
Solace website preview

Solace

Specialists

Parchment and espresso with an editorial layout and a journal blog.

Preview
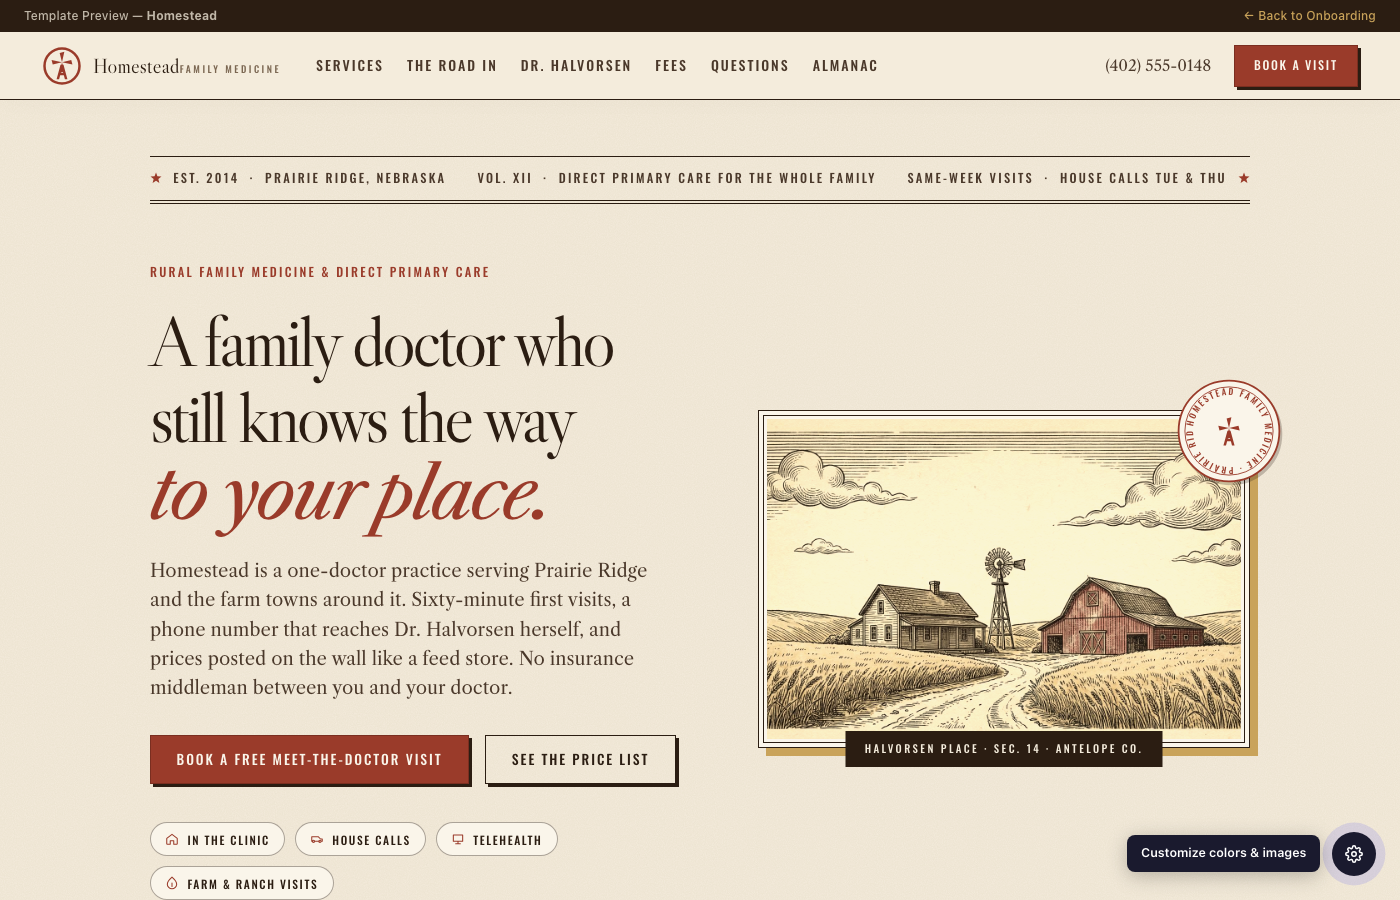
Homestead website preview

Homestead

Rural family medicine

Kraft-paper woodcut broadside: barn red, wheat gold, general-store price list.

Preview
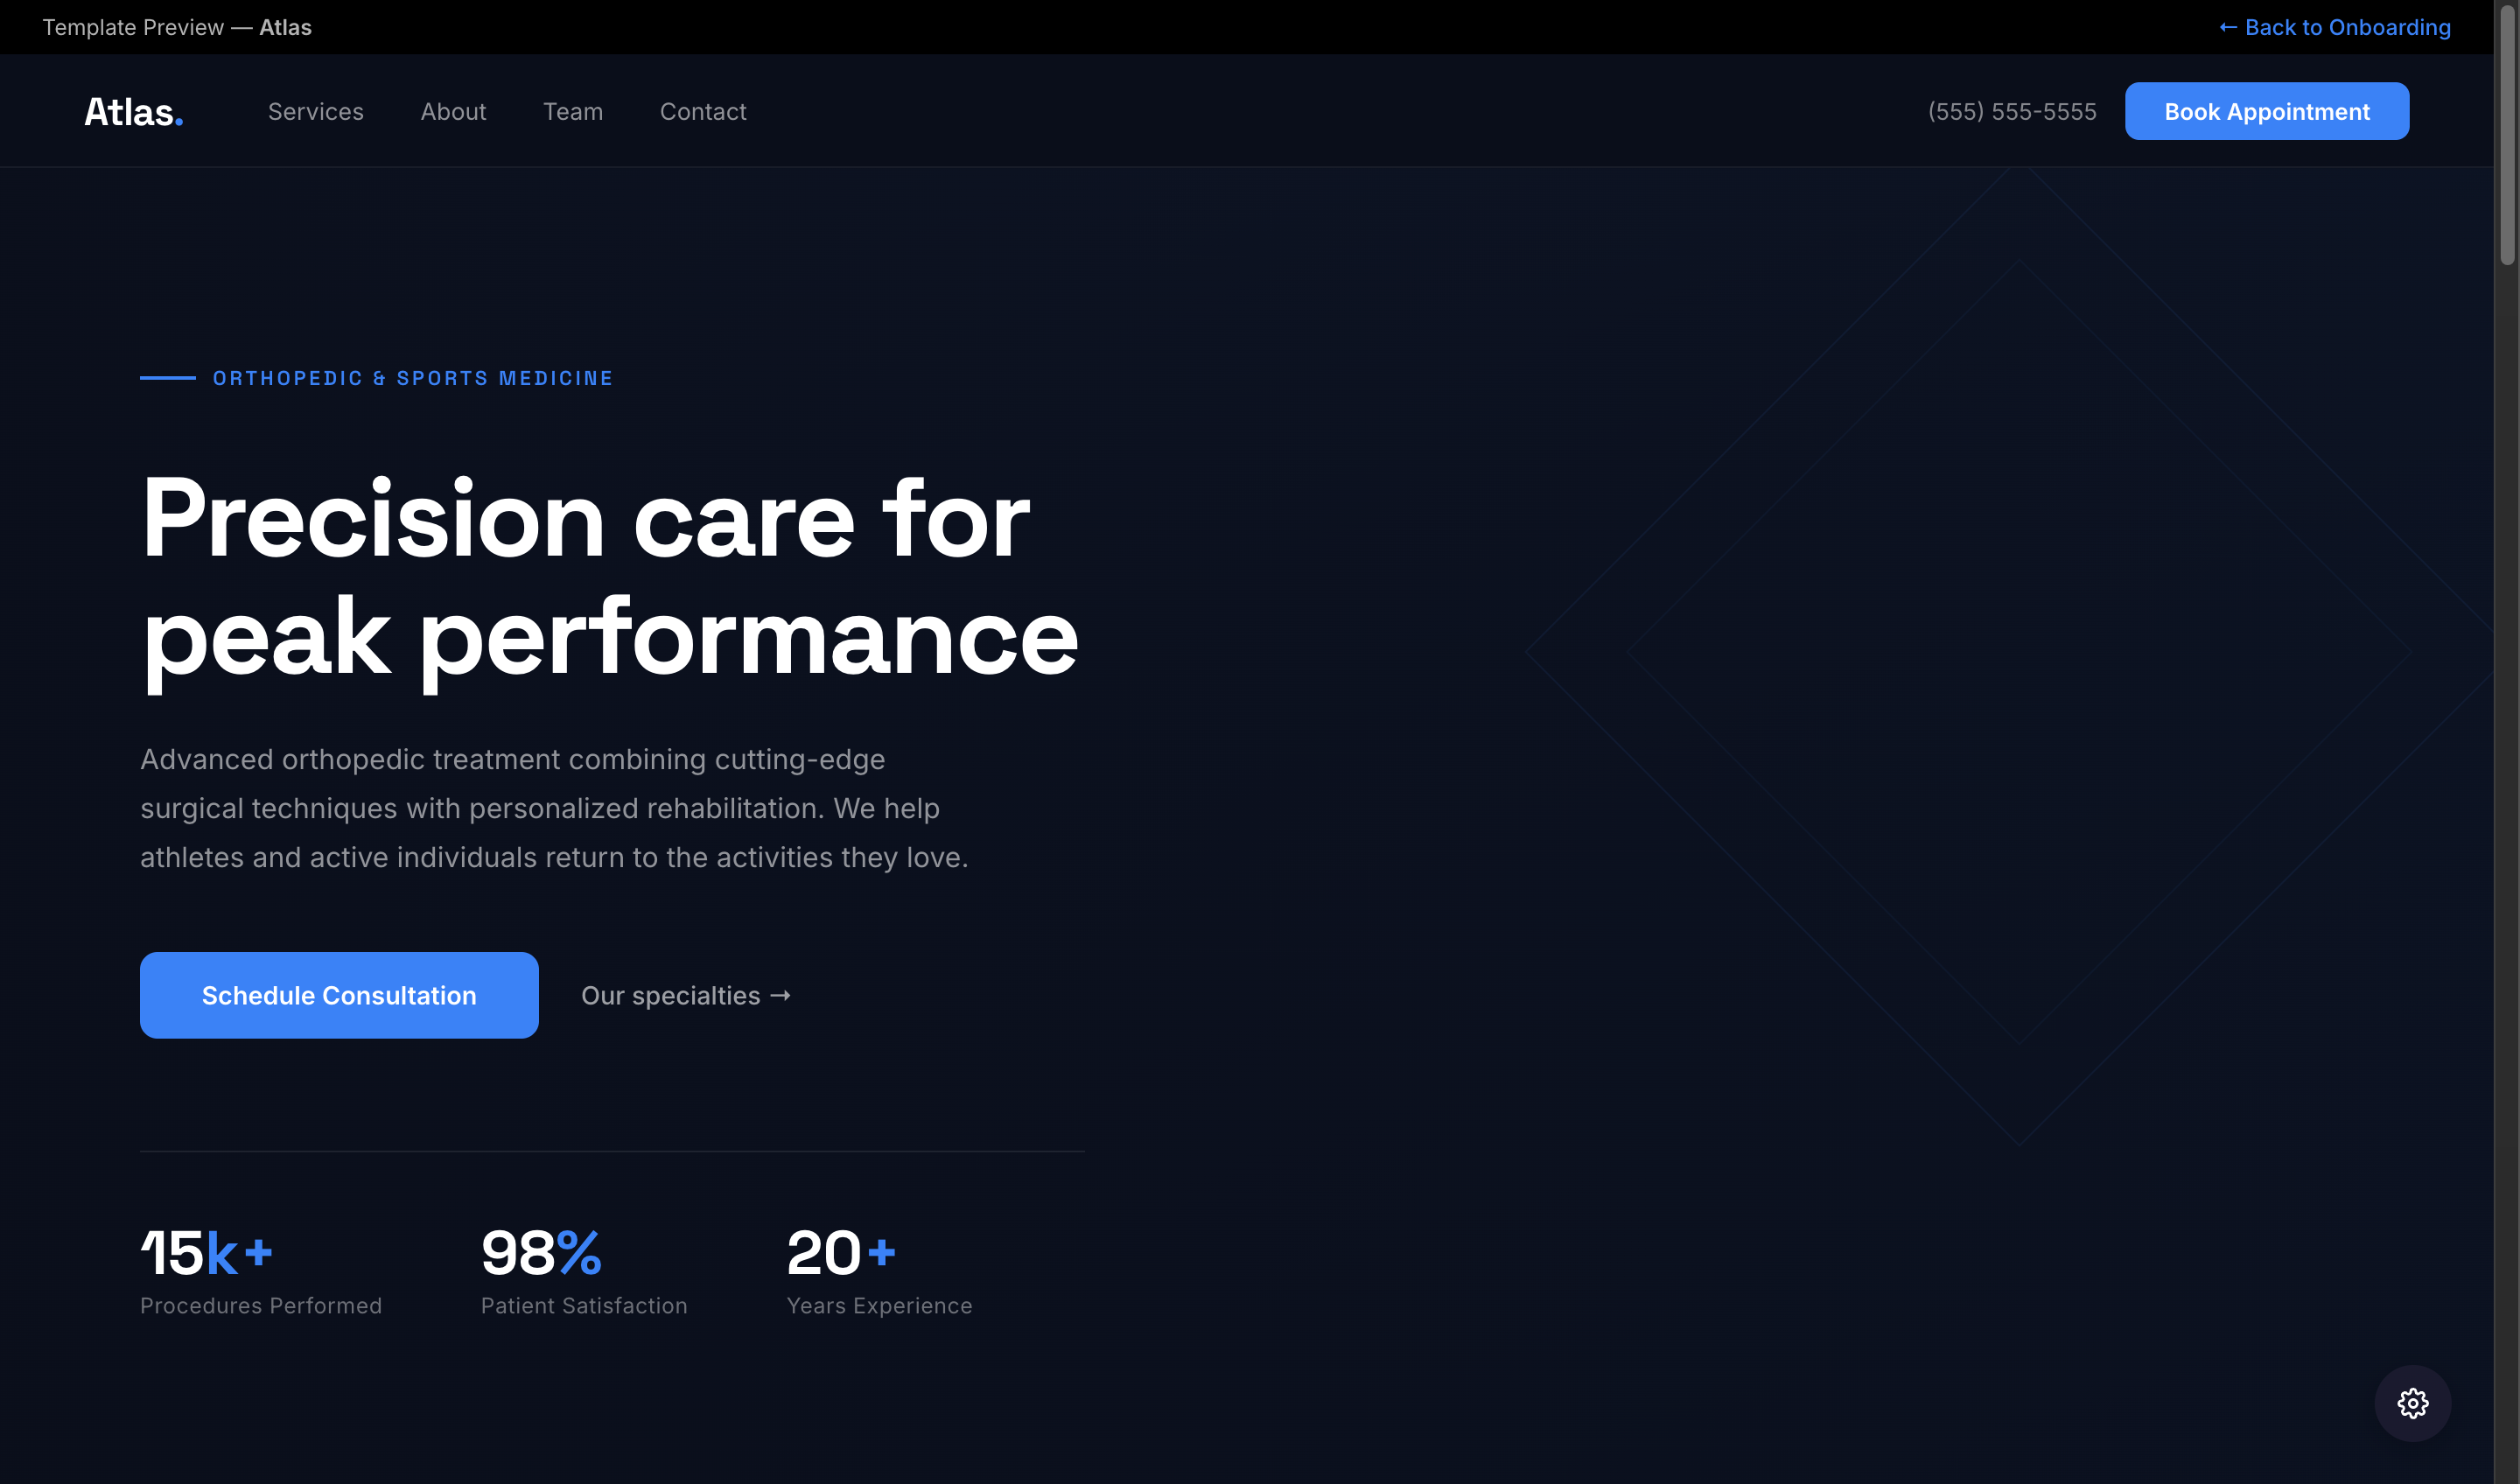
Atlas website preview

Atlas

Orthopedics

Midnight blue with electric accents and an injury inquiry form.

Preview
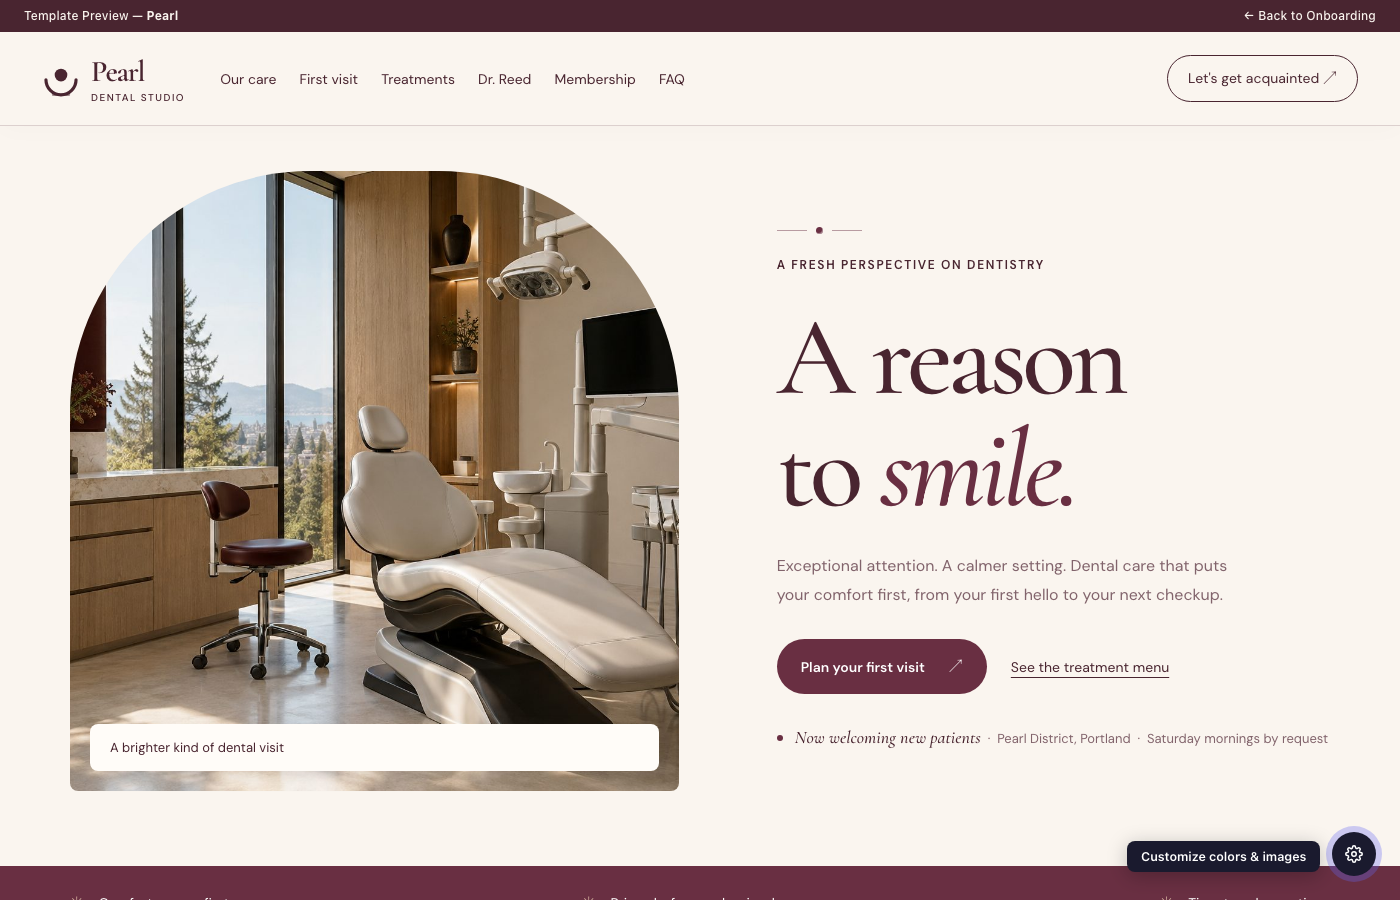
Pearl website preview

Pearl

Dental studio

Burgundy on ivory with architectural photography and refined serif type.

Preview
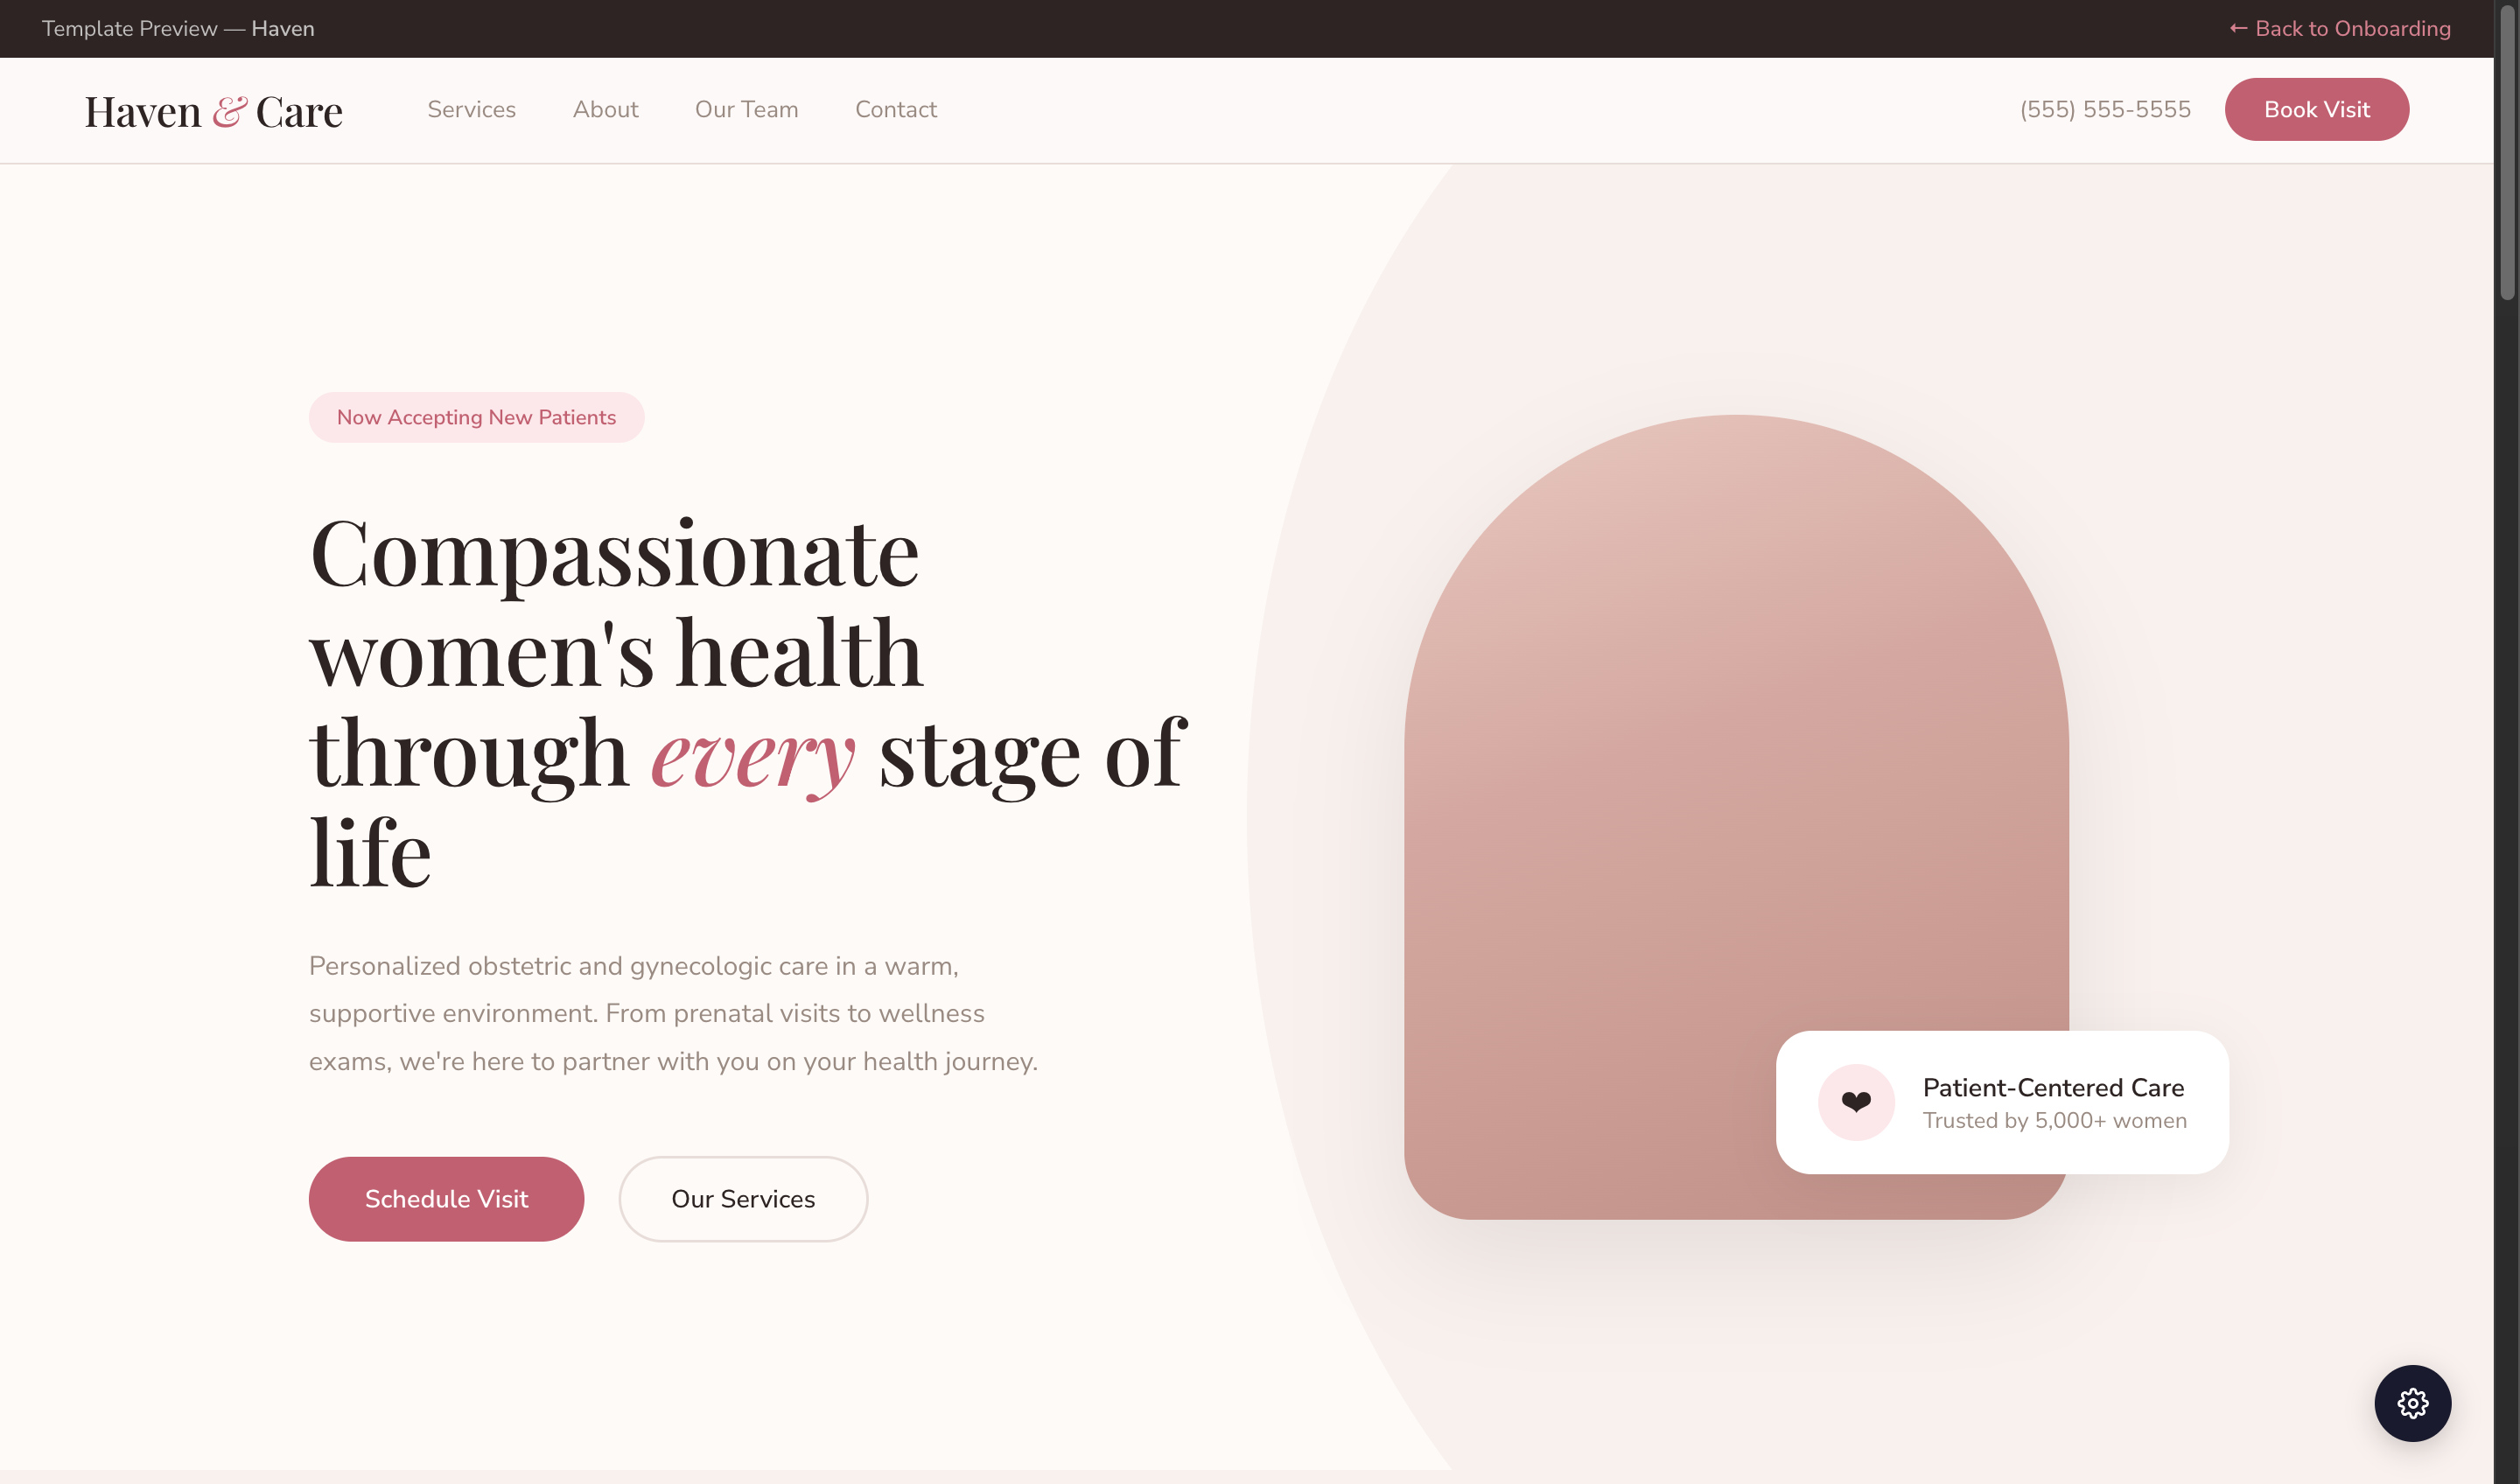
Haven website preview

Haven

OB/GYN

Blush and cream with rose accents and a patient intake form.

Preview
Nova website preview

Nova

Aesthetic dermatology

Charcoal and champagne with a kinetic hero and bento services.

Preview
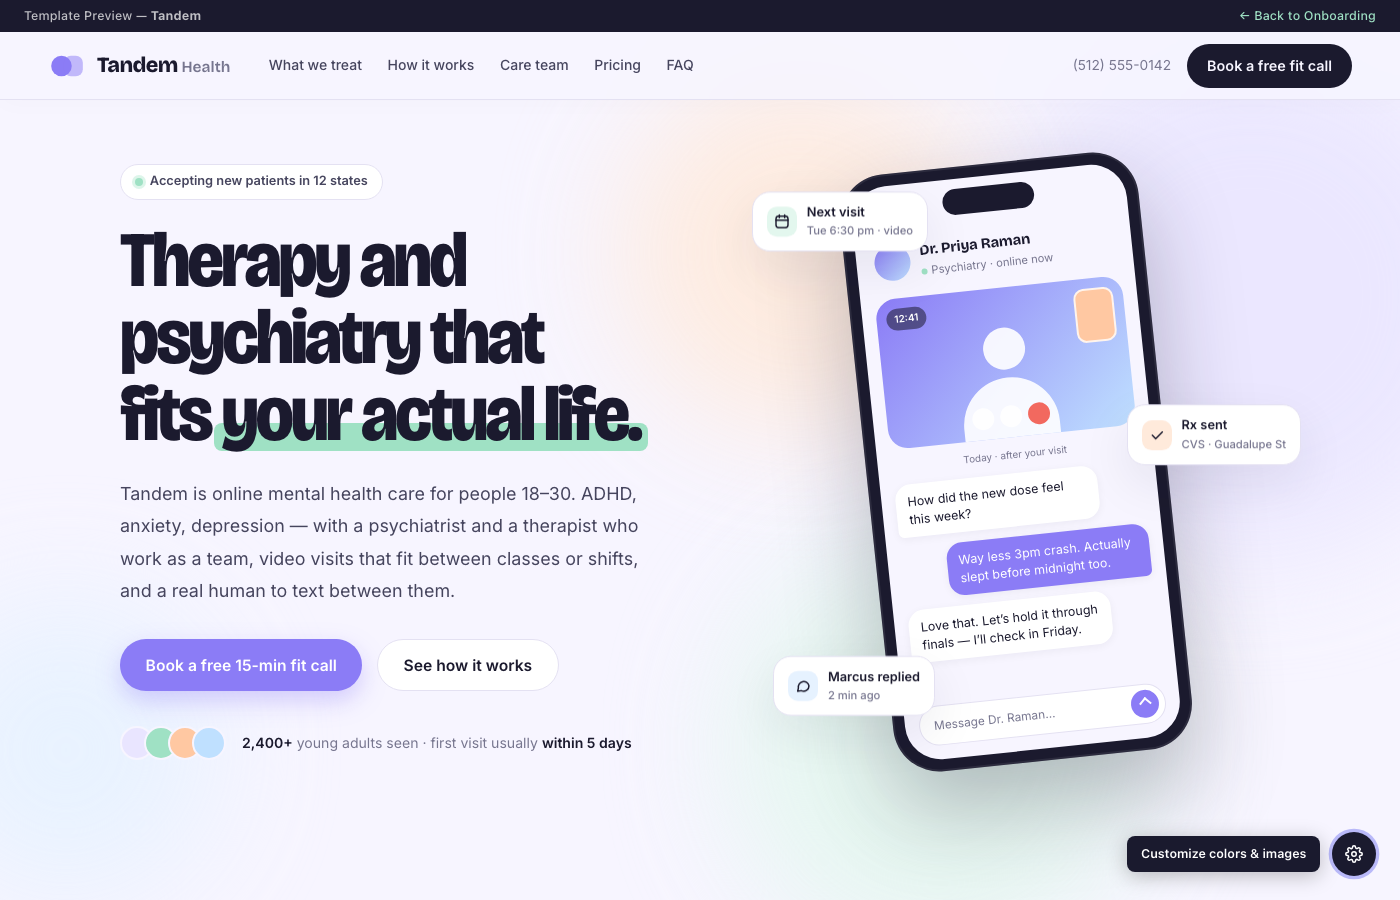
Tandem website preview

Tandem

Telepsychiatry

Lavender-mint-peach pastels; bento tiles around a tilted CSS phone mockup.

Preview
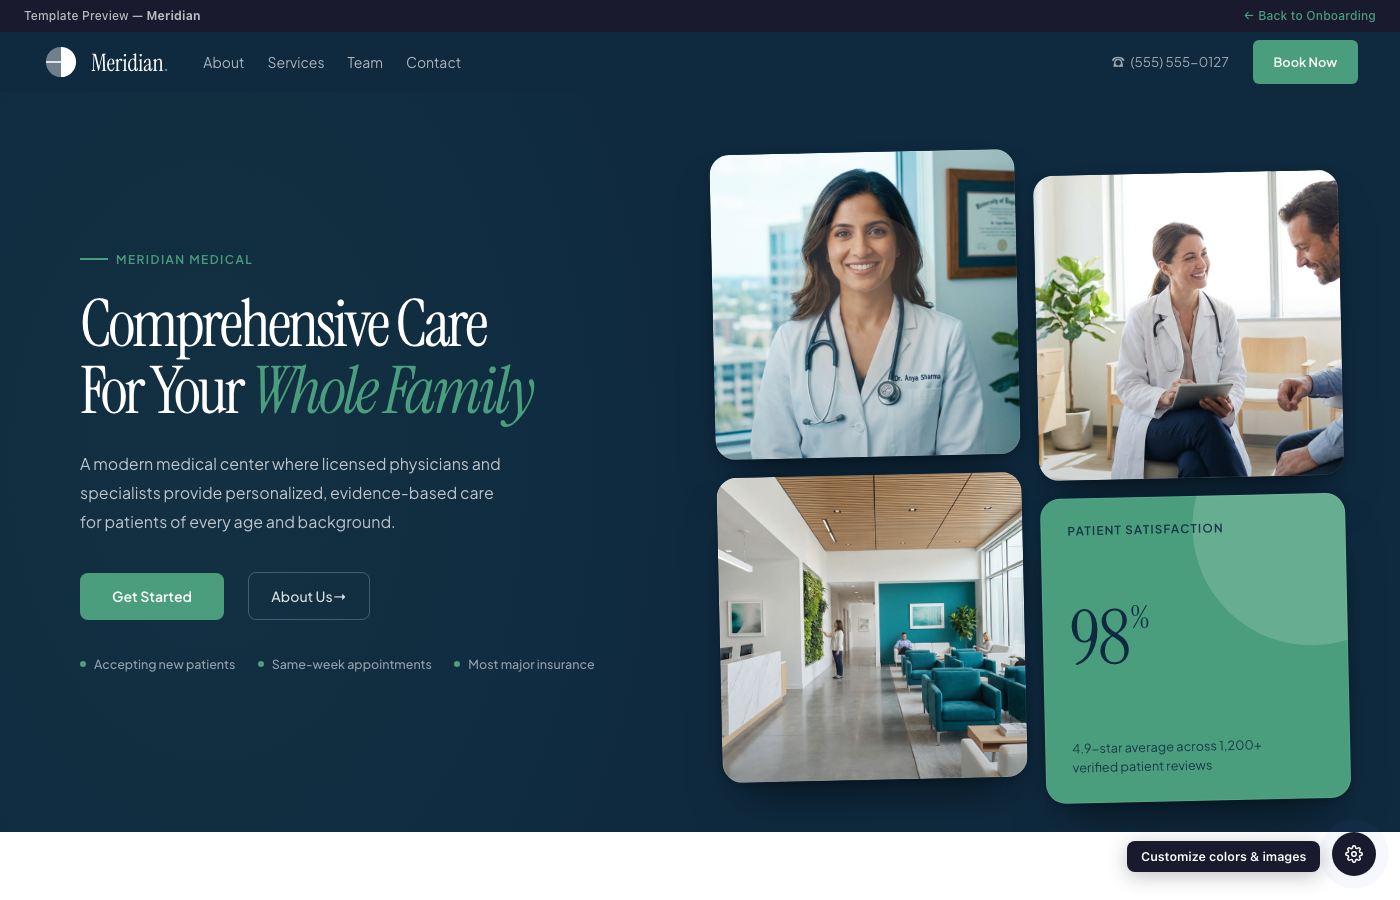
Meridian website preview

Meridian

Clinical practice

Navy and sage with a four-image hero grid and calendar booking.

Preview
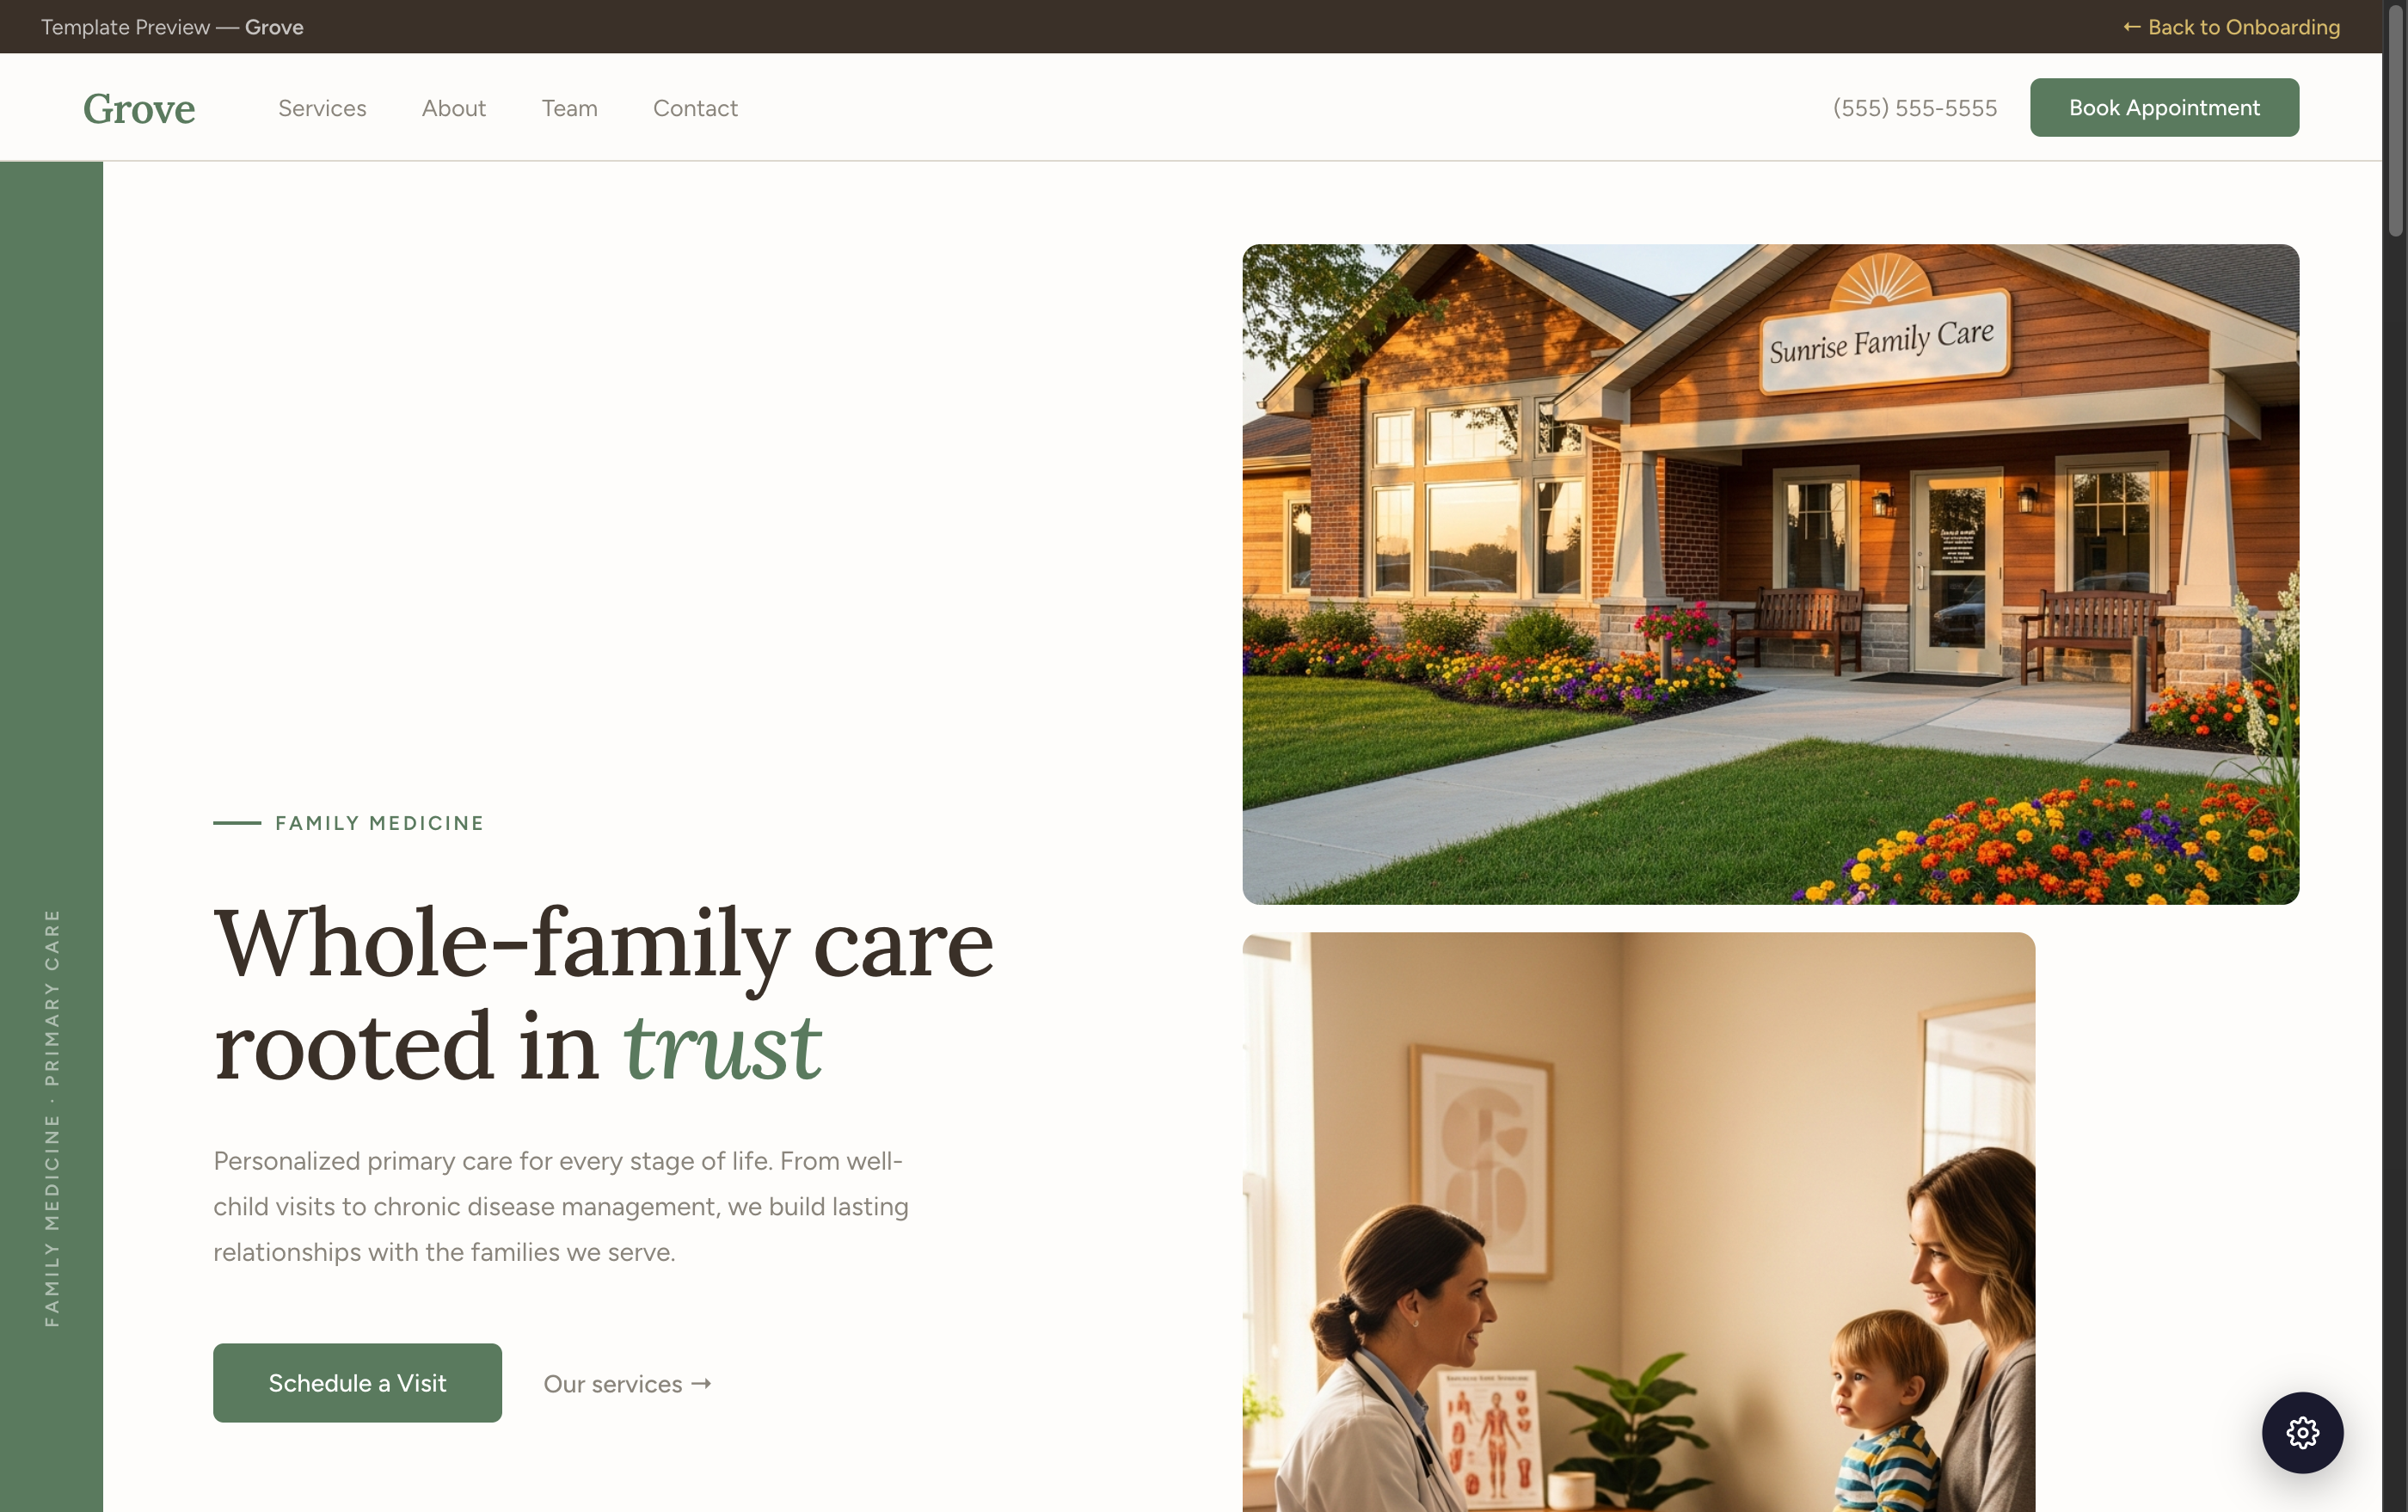
Grove website preview

Grove

Family medicine

Linen and moss with wheat details and a nature-led feel.

Preview
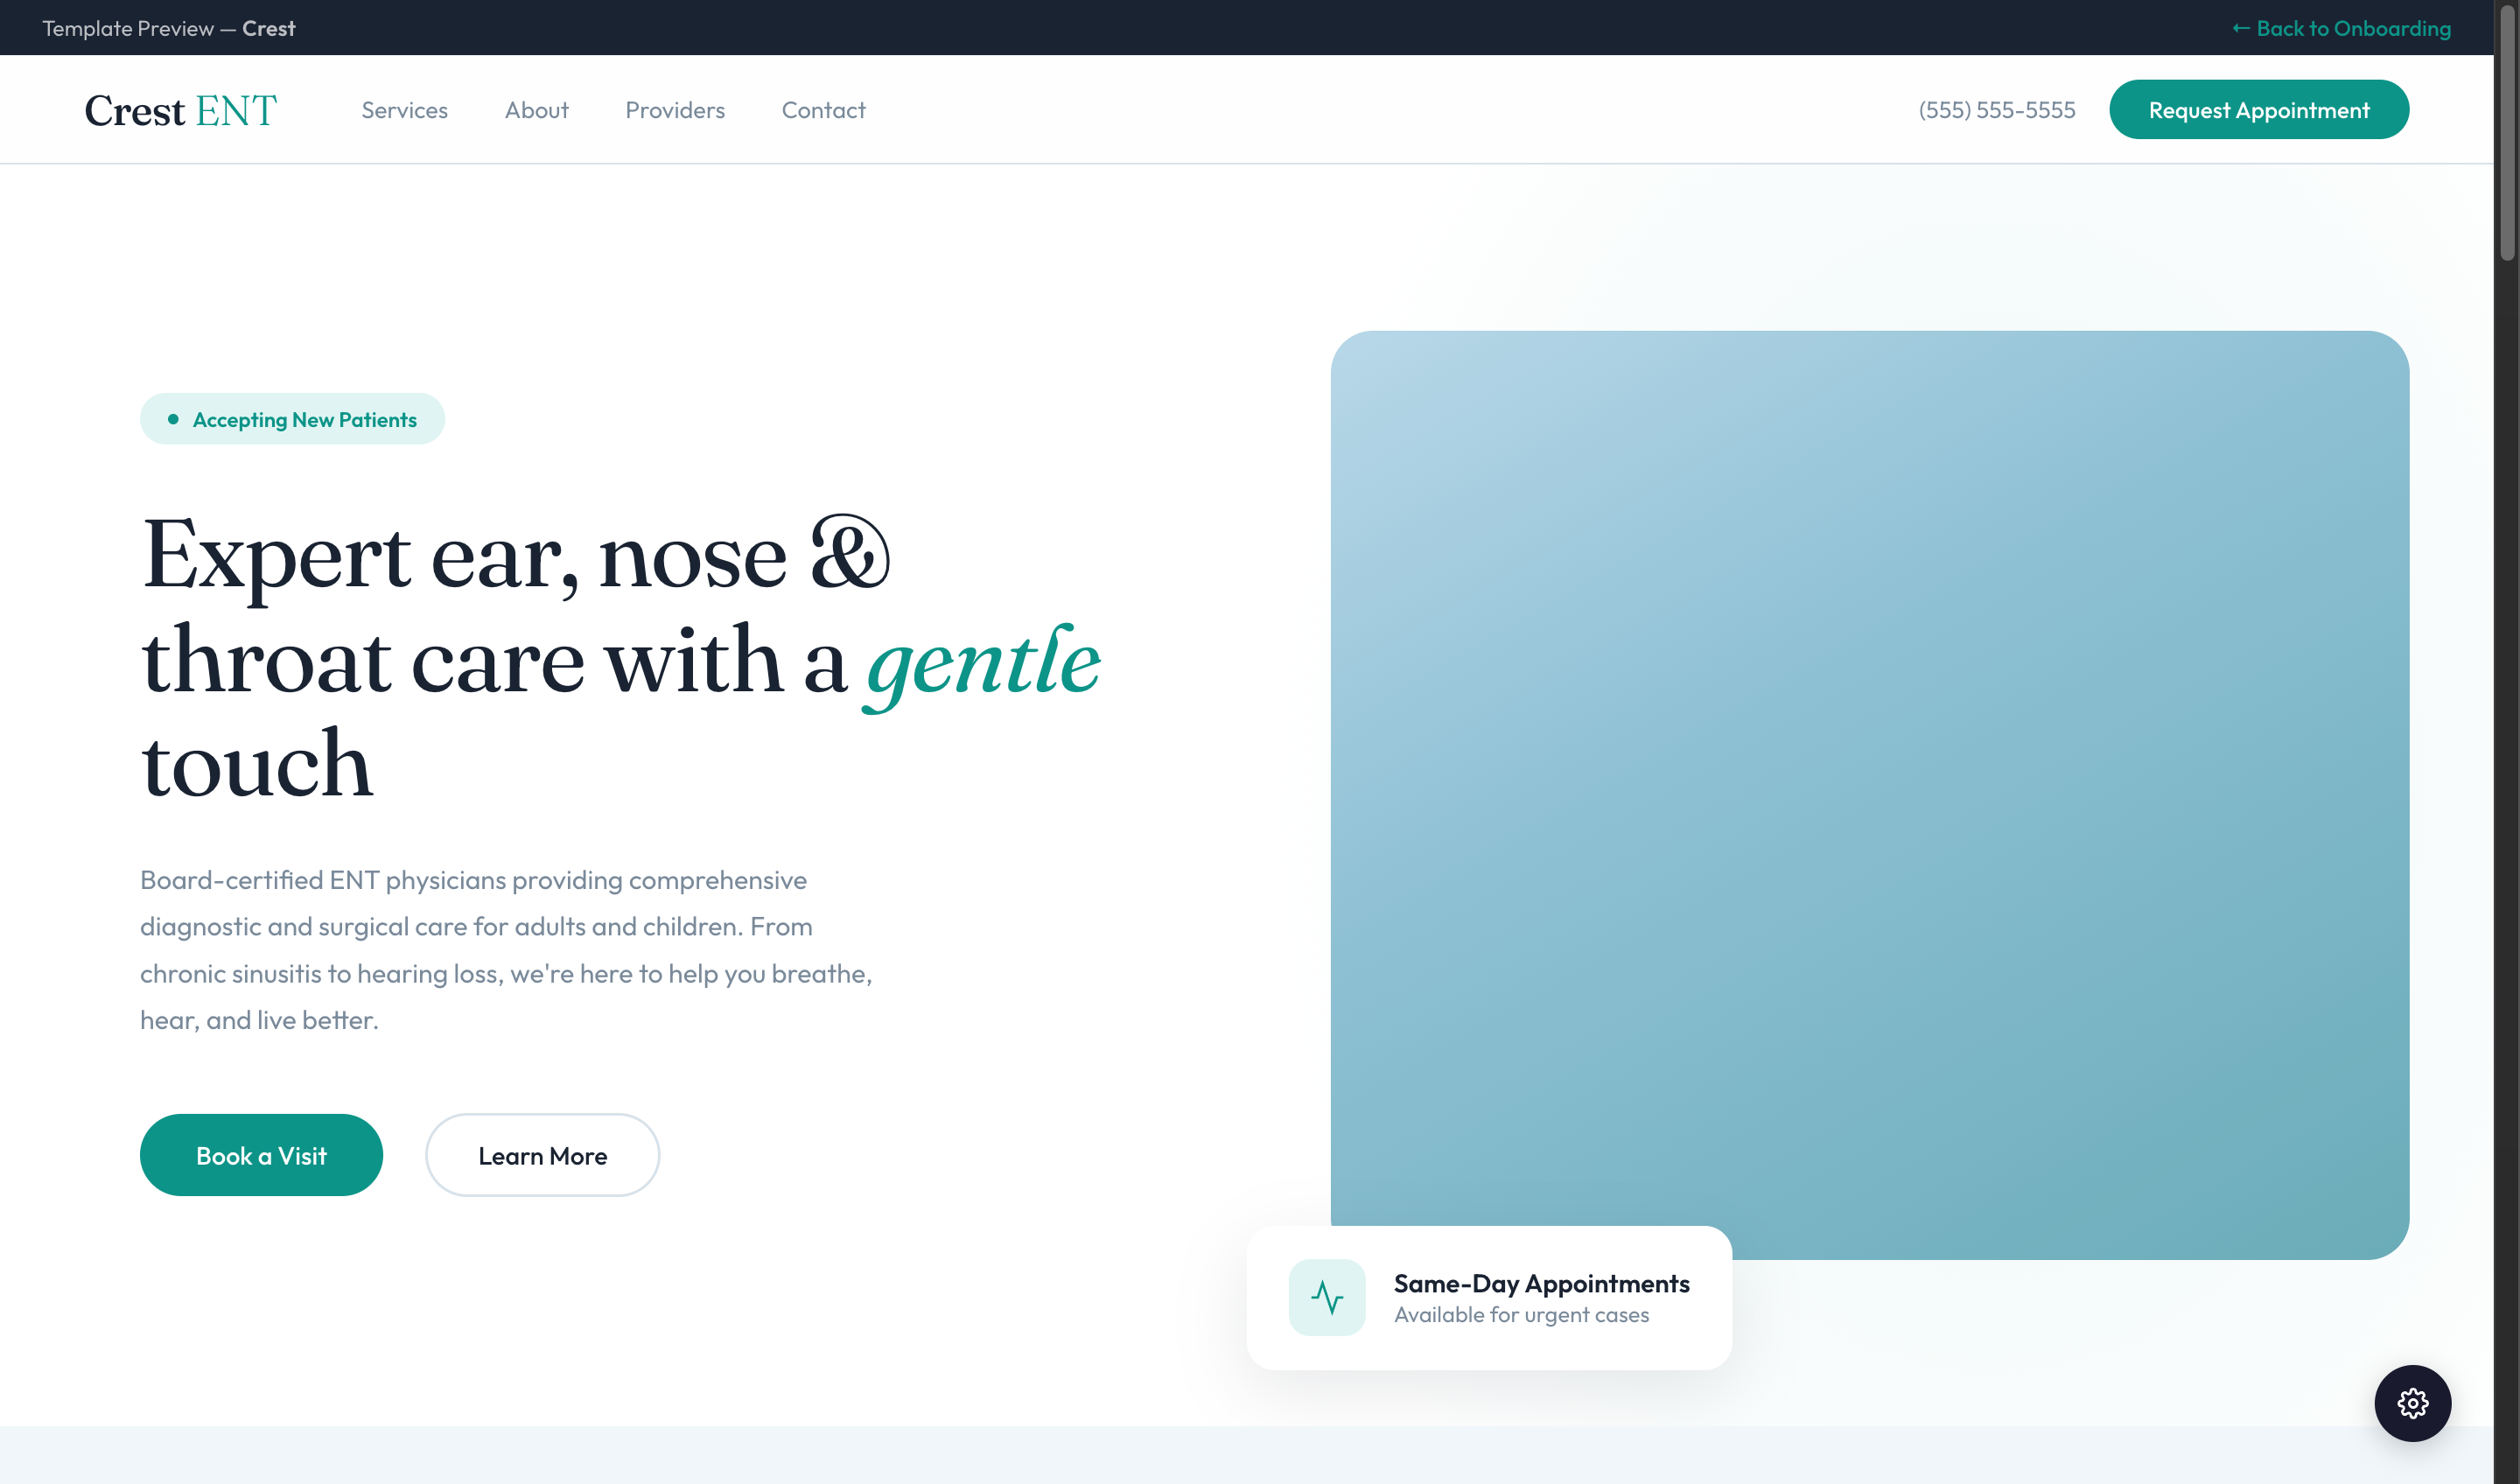
Crest website preview

Crest

ENT and hearing

Airy sky tones with teal accents and a condition-based inquiry.

Preview
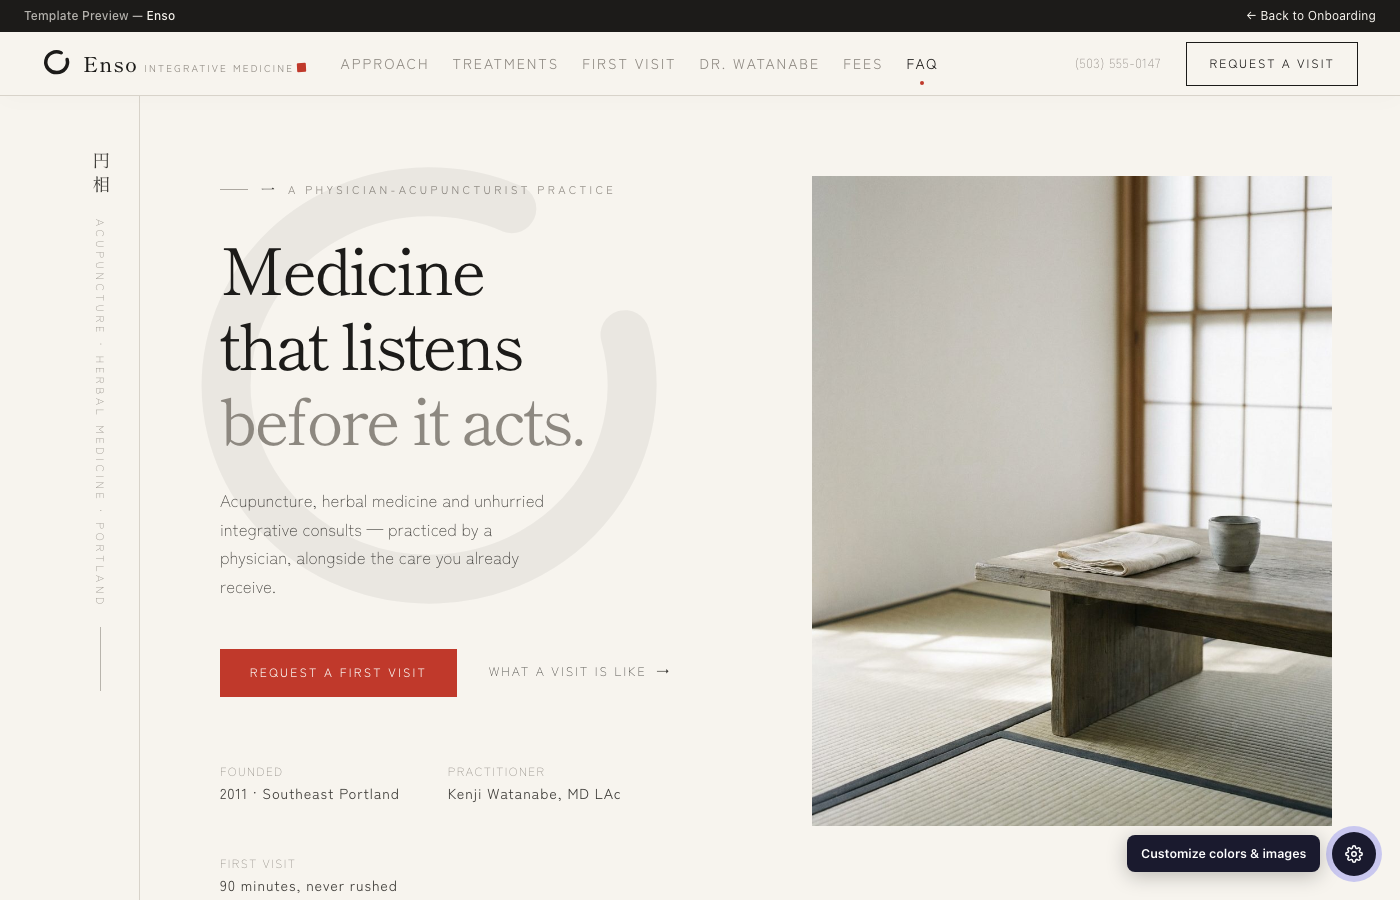
Enso website preview

Enso

Integrative medicine

Washi white and sumi ink; an asymmetric hero with vertical margin type.

Preview
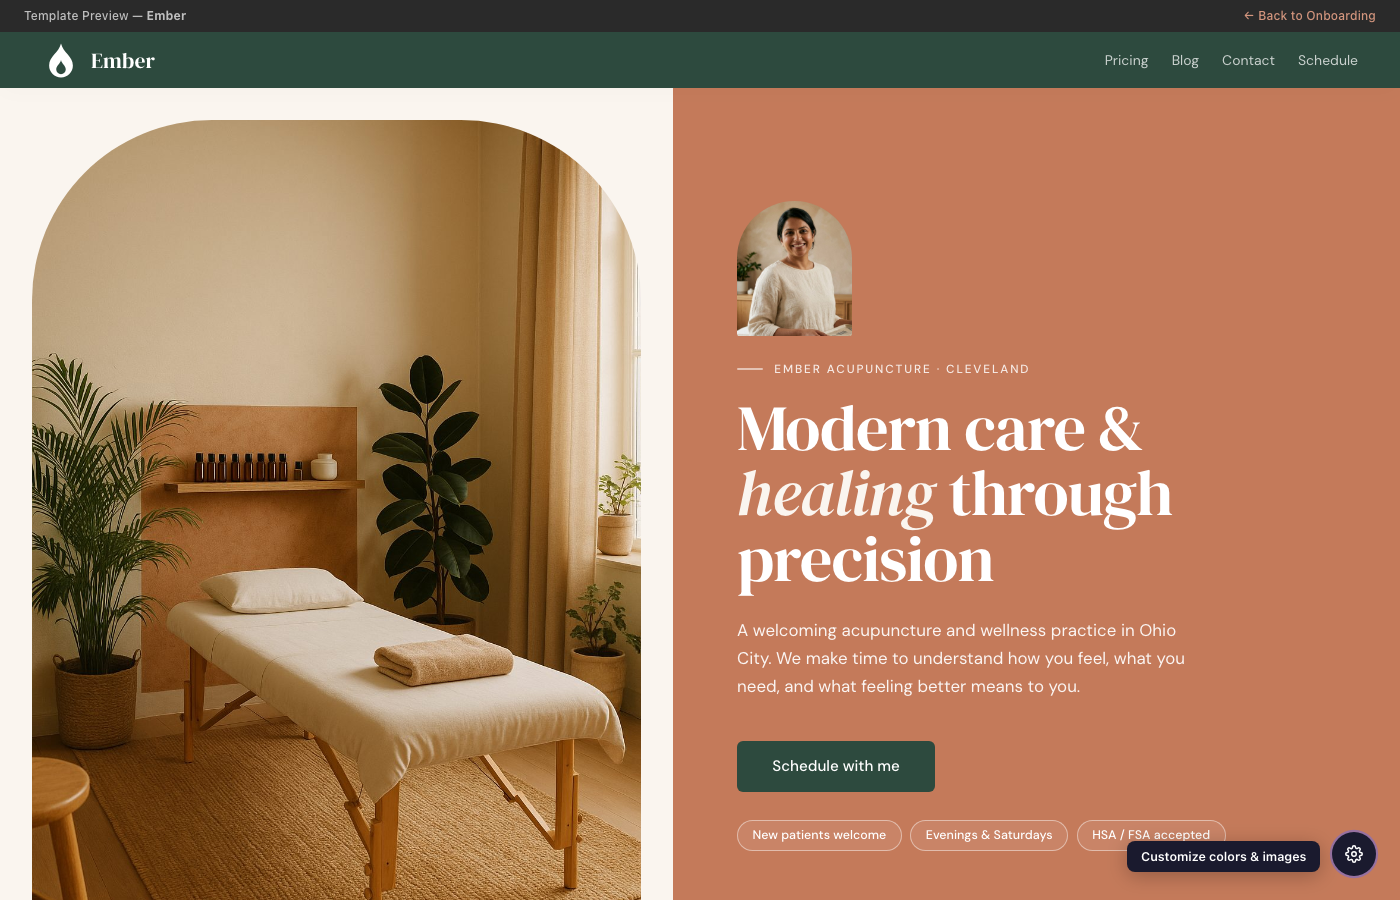
Ember website preview

Ember

Wellness

Terracotta and forest with an organic two-column hero.

Preview
Helix website preview

Helix

Cardiology

Paper and navy with a brick accent and a drawn ECG flourish.

Preview
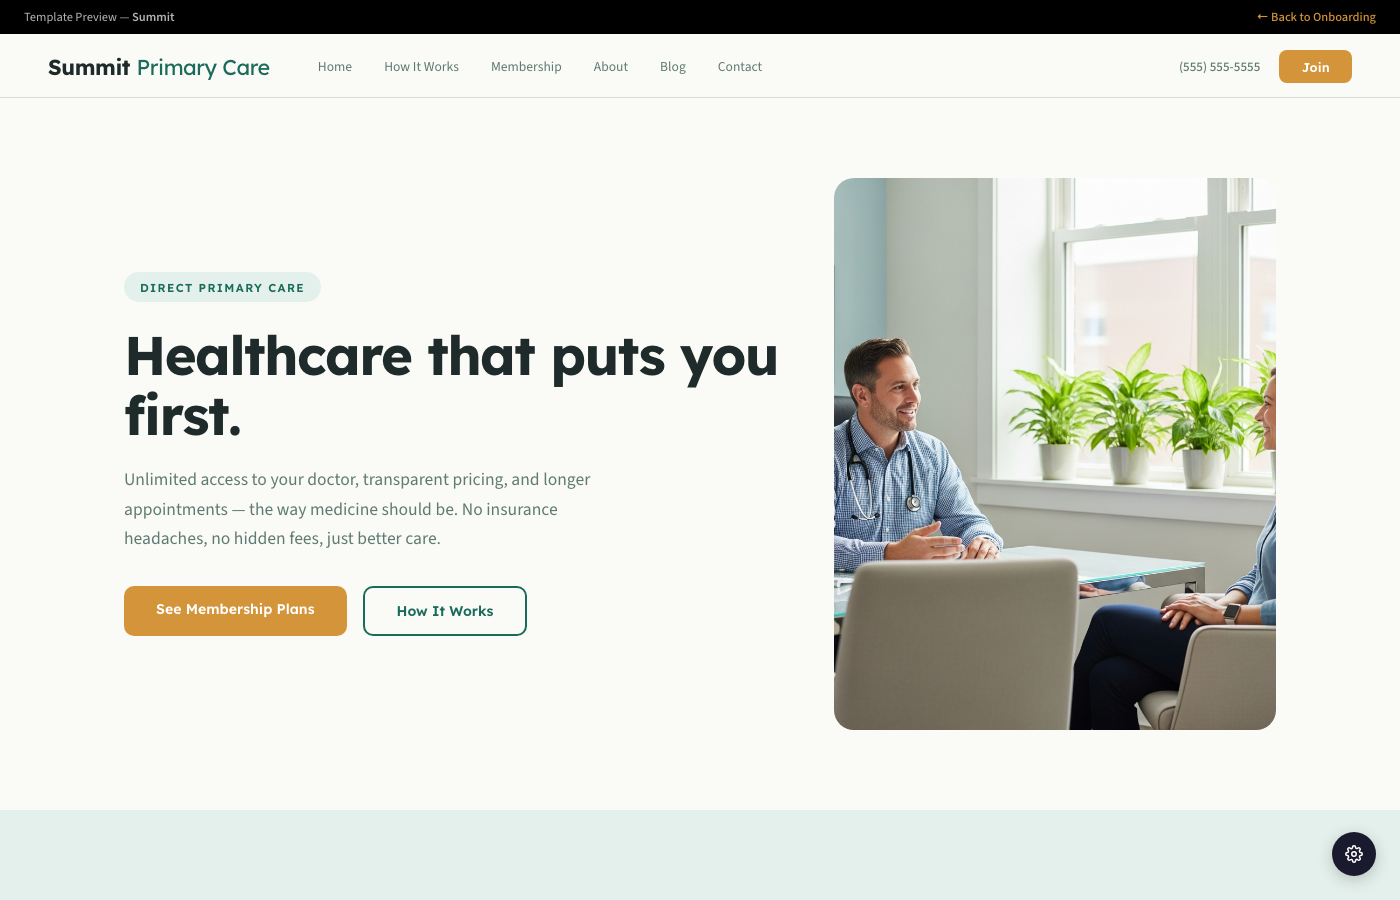
Summit website preview

Summit

Direct primary care

Evergreen and amber with membership pricing and a comparison table.

Preview
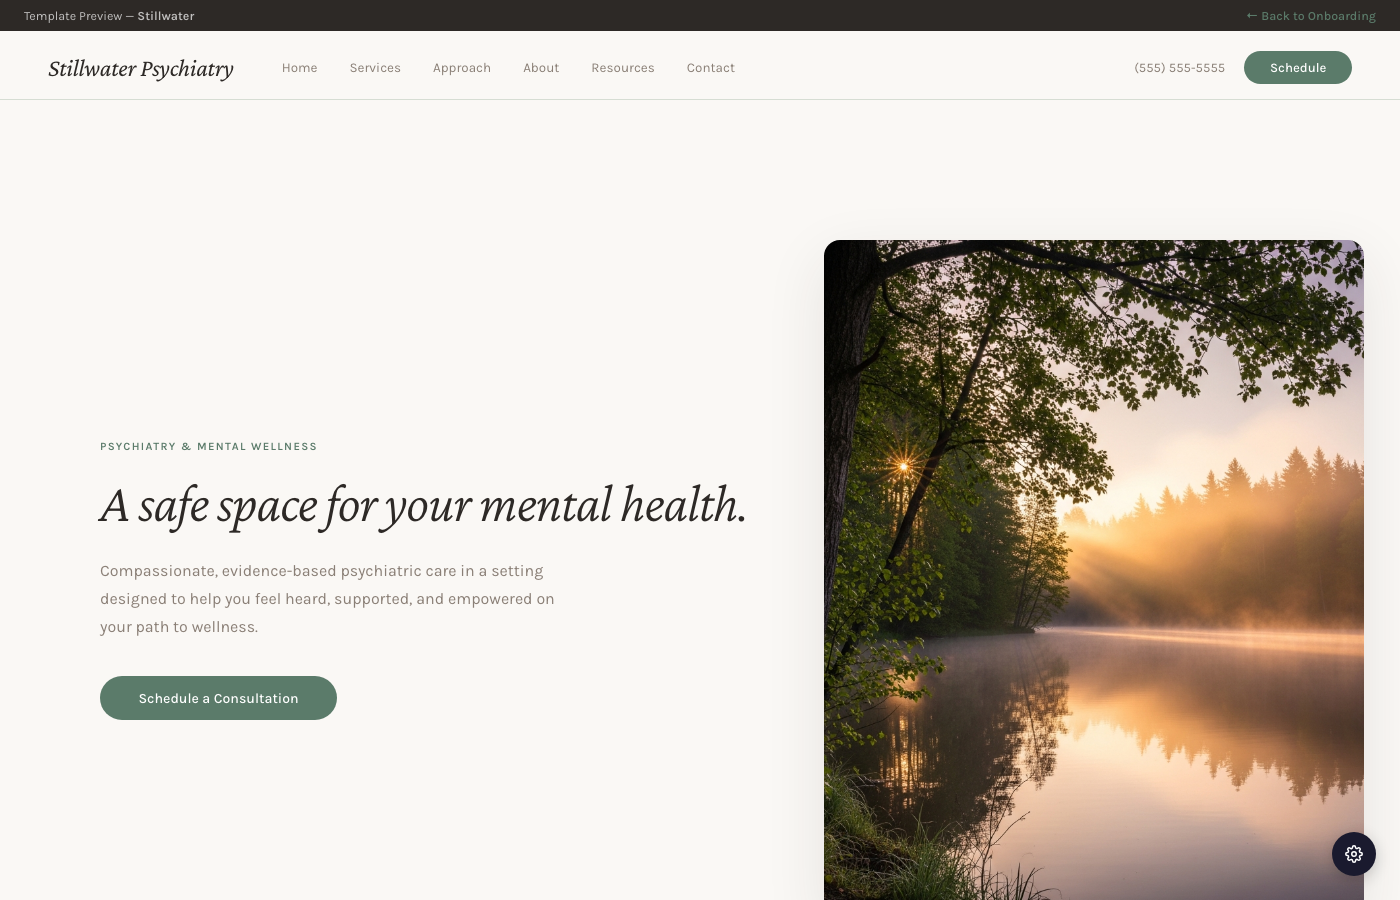
Stillwater website preview

Stillwater

Psychiatry

Calm sage and linen with a conditions grid and a resources blog.

Preview
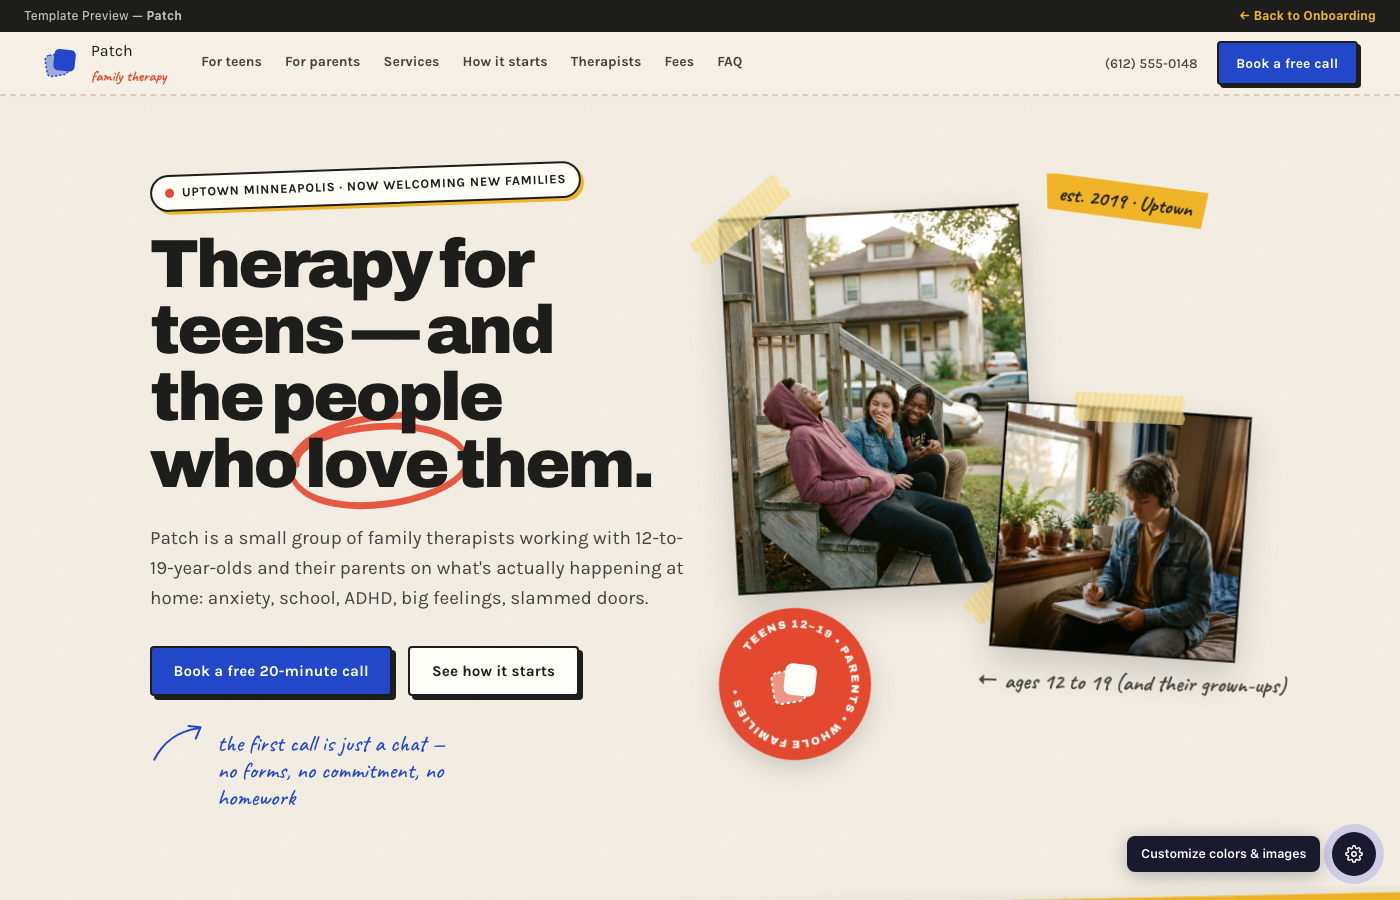
Patch website preview

Patch

Family therapy

Paper, cobalt and tomato scrapbook: taped cut-outs, stickers, handwritten notes.

Preview
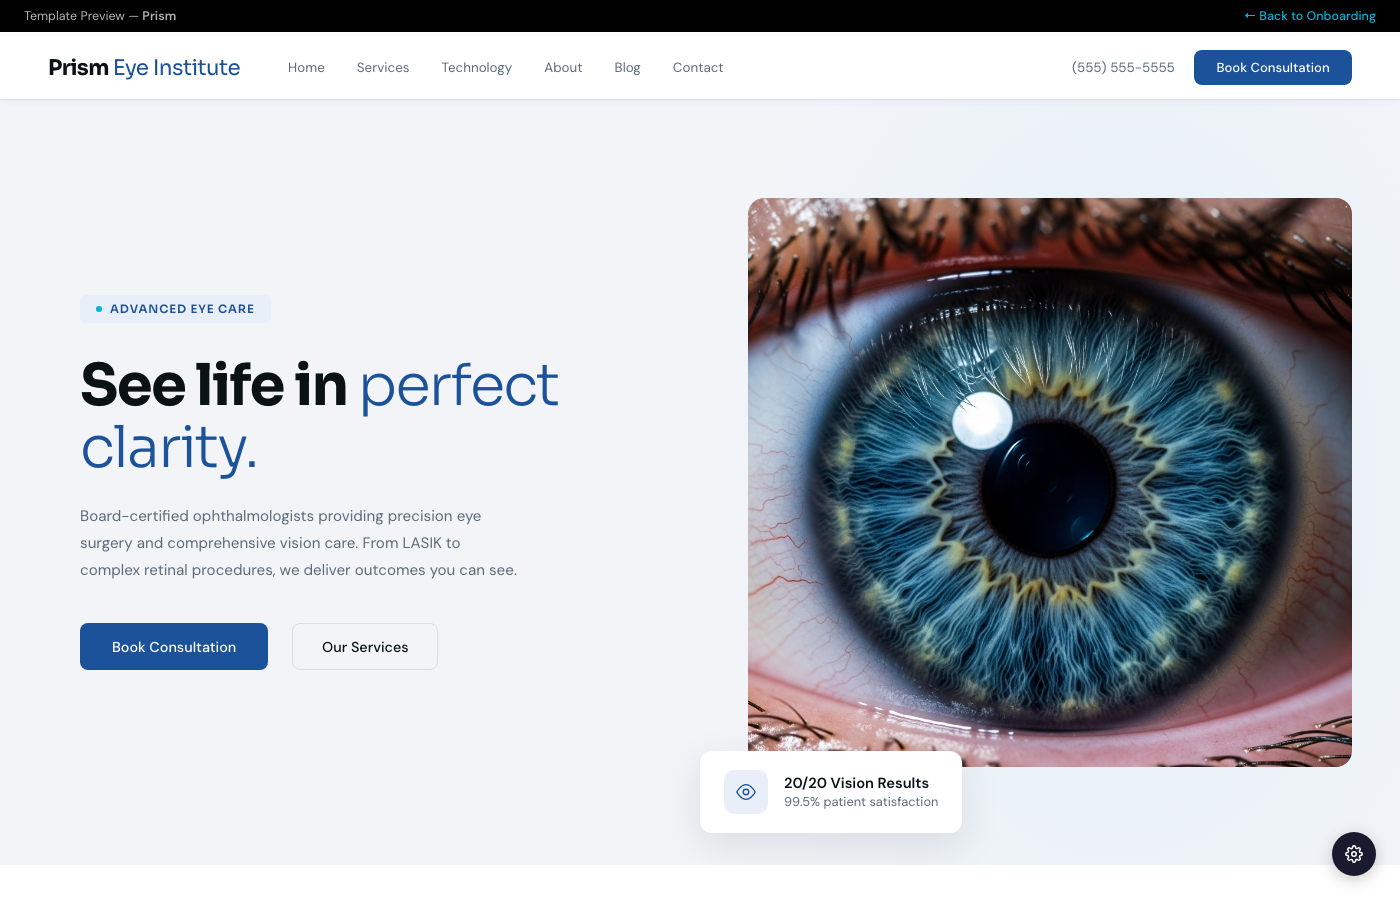
Prism website preview

Prism

Ophthalmology

Crisp blue and cyan with a technology showcase and stats.

Preview
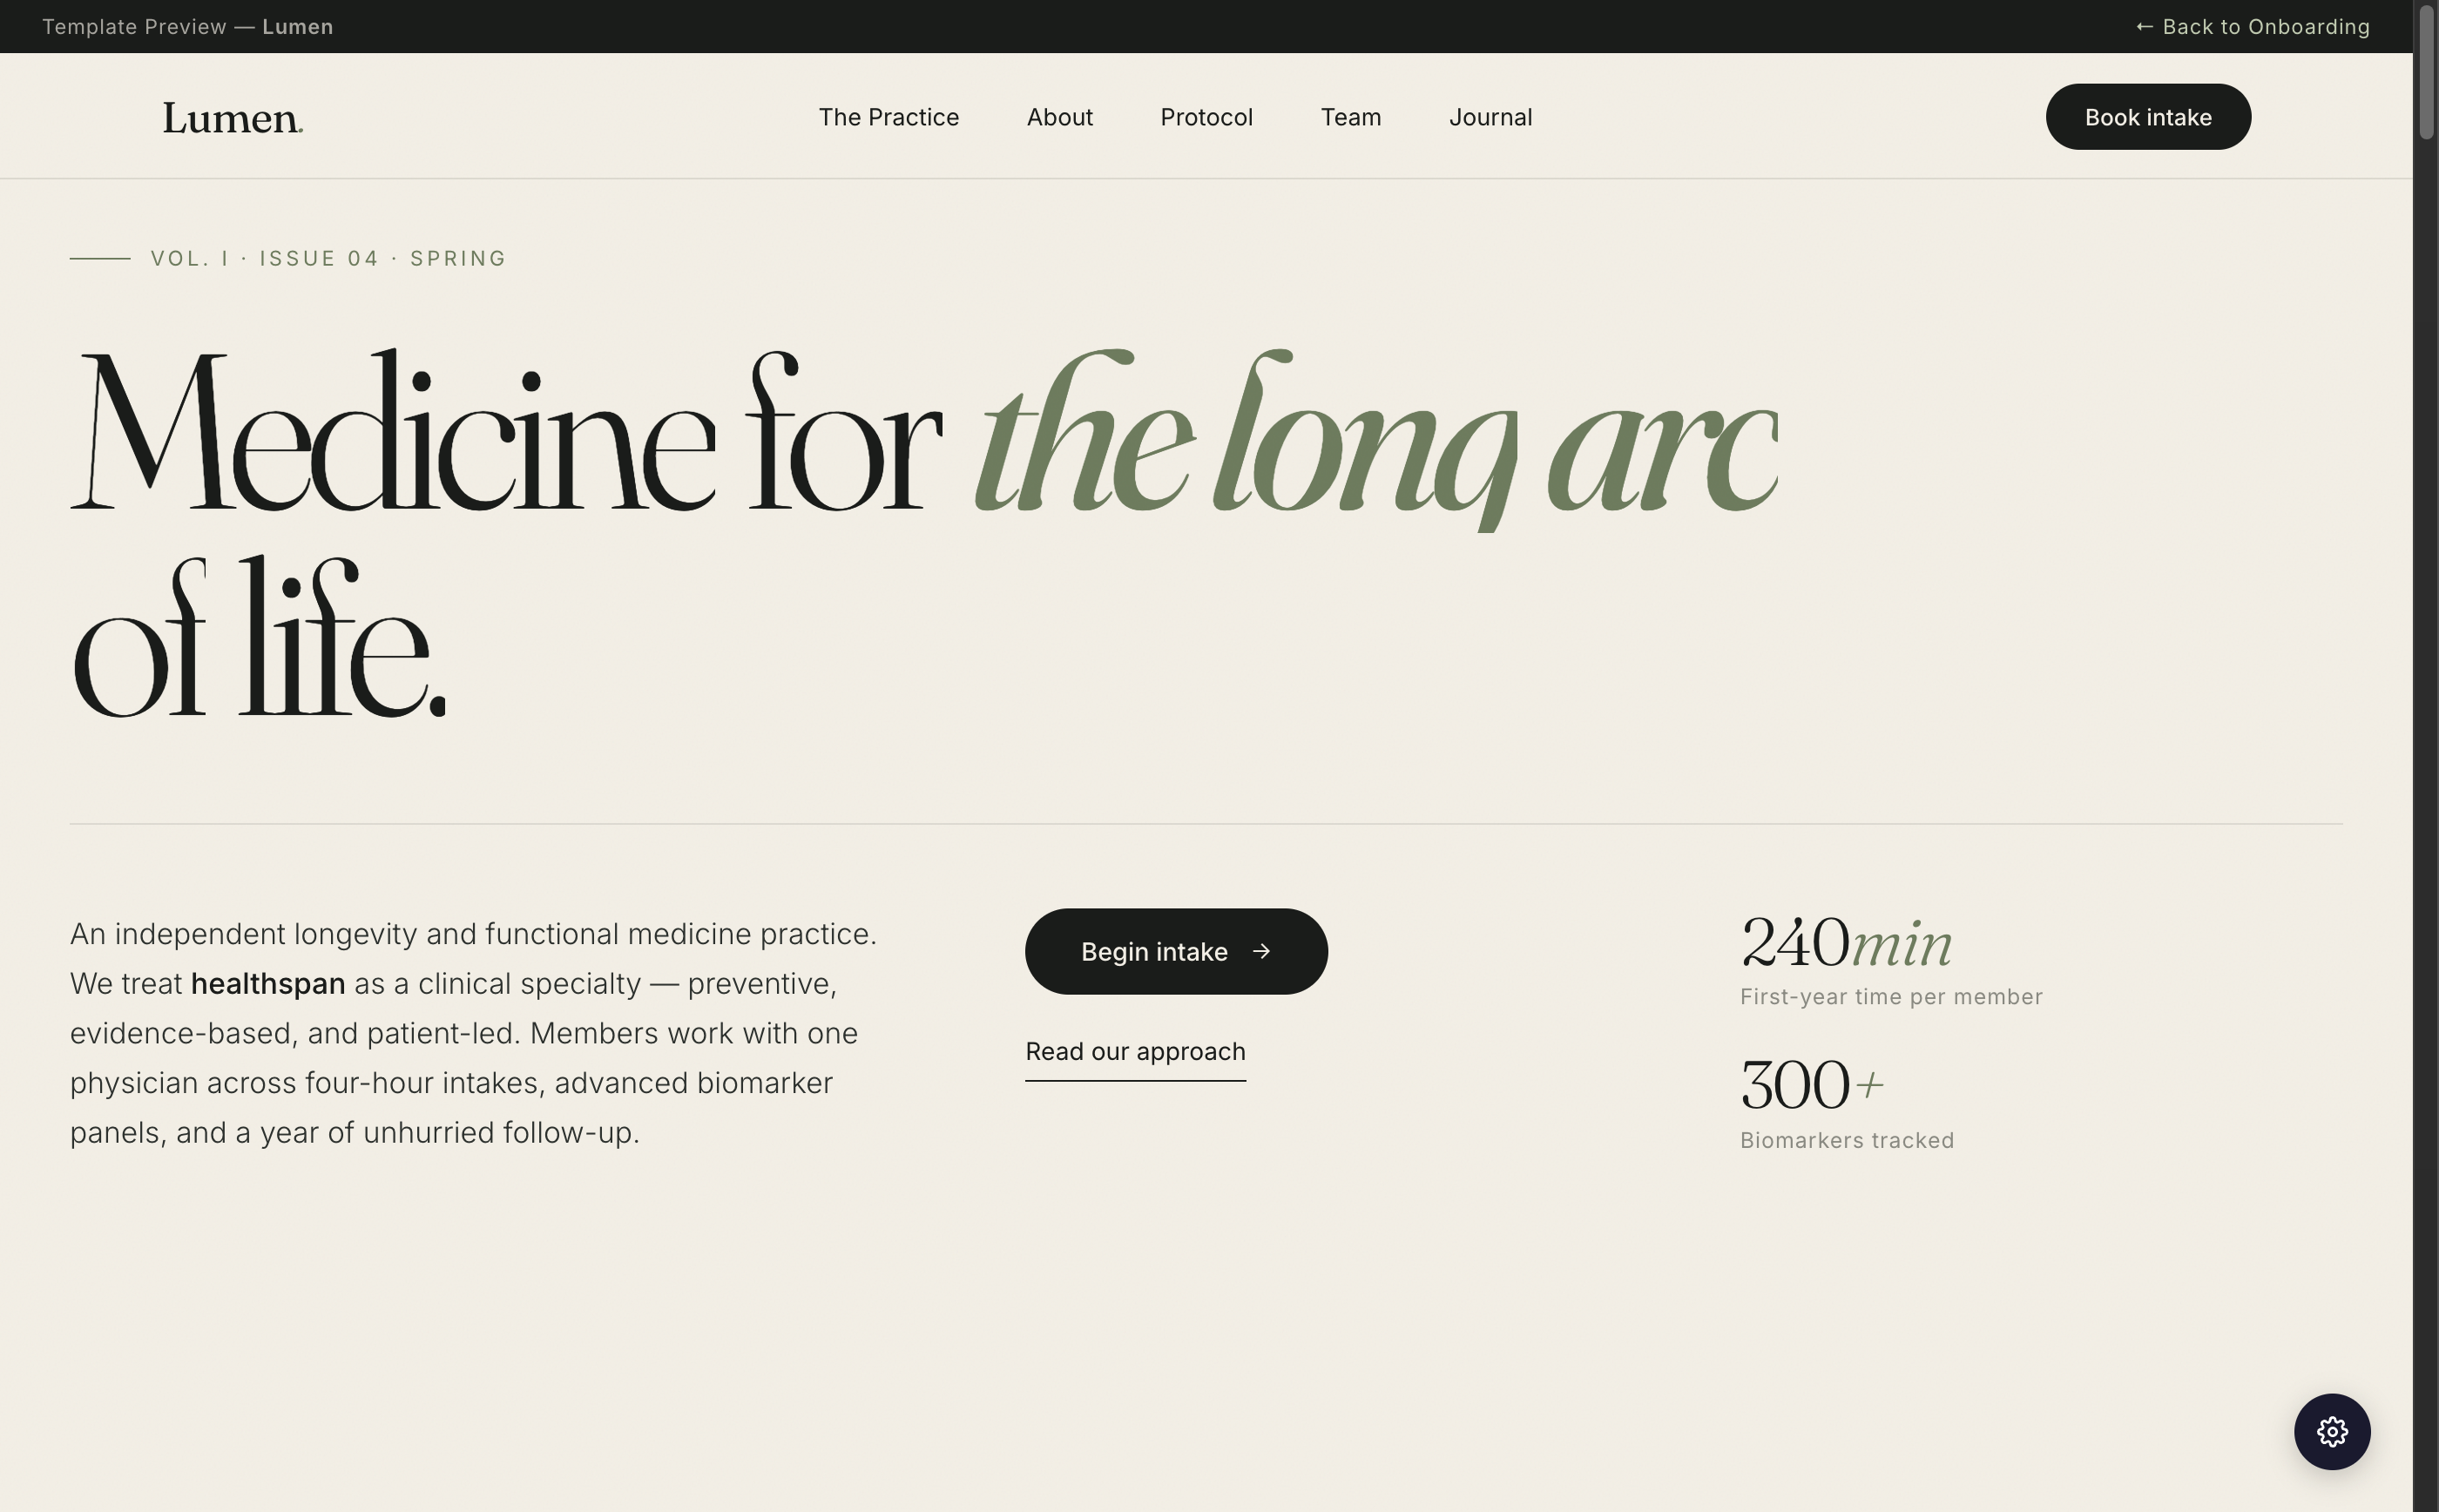
Lumen website preview

Lumen

Longevity medicine

Warm paper and sage with sticky pillars and drop caps.

Preview
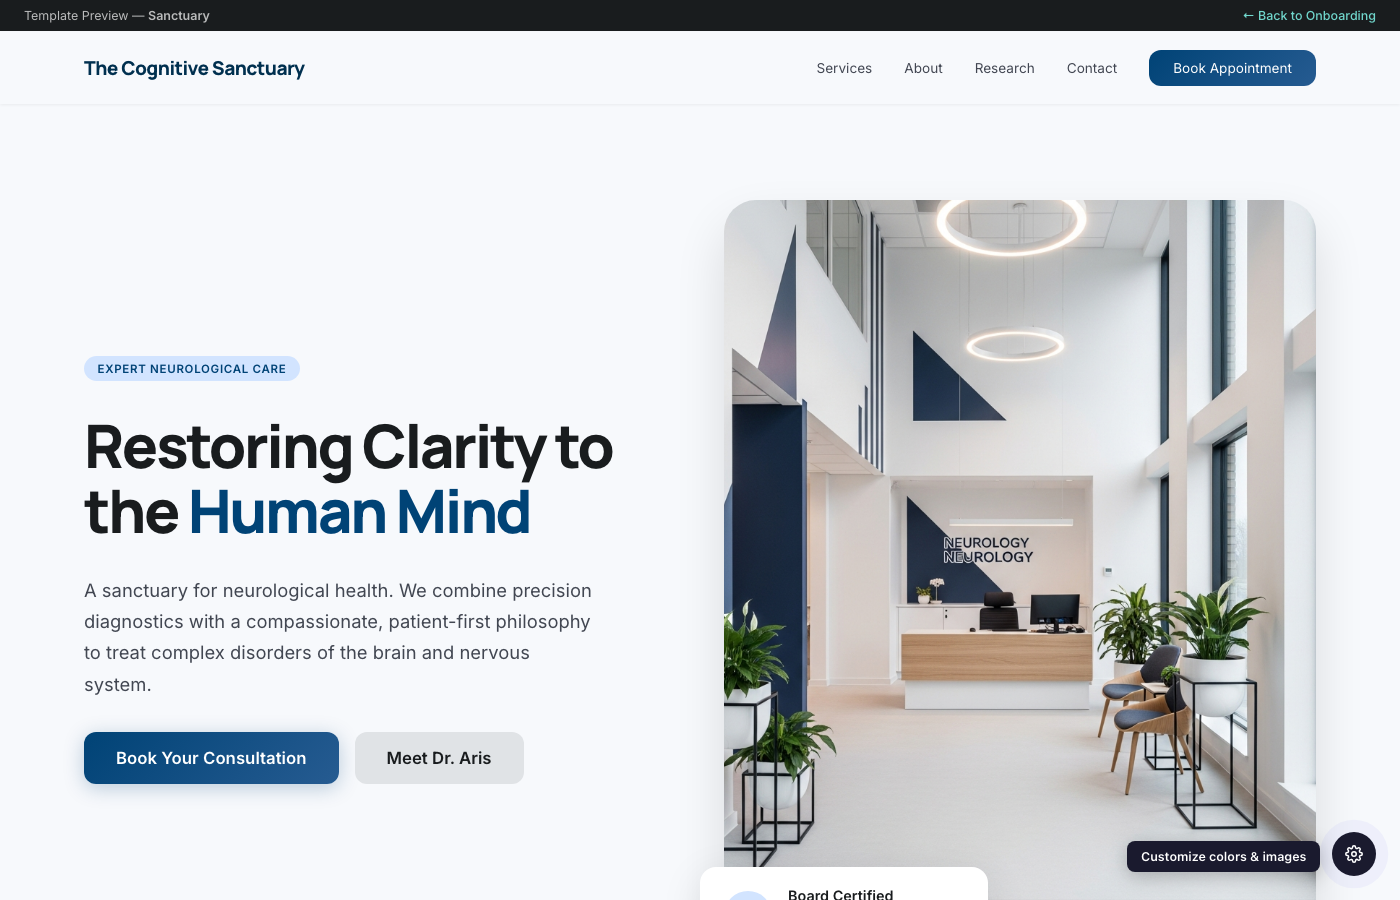
Sanctuary website preview

Sanctuary

Neurology

Clinical blue with a glass nav, bento services and research stats.

Preview
Step 2

Set Up Your Accounts

Create accounts with these essential providers to run your practice. Check each off as you go.

0 of 5 completed
Q

Quest Diagnostics

Quanum platform for electronic lab ordering and results

L

LabCorp

Additional laboratory integration for patient diagnostics

F

SRFax

HIPAA-compliant online fax service for sending and receiving medical faxes

O

Office Ally

Claims clearinghouse for electronic billing, eligibility verification, and ERA/EOB

G

Google Workspace

Professional email, calendar, and document collaboration

Step 3

Recommended Laptop

Our pick is the 15-inch MacBook Air. Any current MacBook below works well with Hero.

MacBook Air 13"

M5 — Apple Silicon
  • 13.6" Liquid Retina display
  • 16GB unified memory
  • 512GB SSD
  • Up to 18 hours battery
  • 12MP Center Stage camera
  • Touch ID · 2.7 lbs
From $1,299
Buy from Apple ↗

MacBook Pro 14"

M5 — for long days and heavy multitasking
  • 14.2" Liquid Retina XDR display
  • 16GB unified memory
  • 1TB SSD
  • Up to 24 hours battery
  • 12MP Center Stage camera
  • Touch ID · 3.4 lbs
From $1,999
Buy from Apple ↗

MacBook Neo

A18 Pro — budget pick for front-desk staff
  • 13" Liquid Retina display
  • 8GB unified memory
  • 512GB SSD (the Touch ID model)
  • Up to 16 hours battery
  • 1080p FaceTime HD camera
  • Touch ID · 2.7 lbs
$799 with Touch ID
Buy from Apple ↗

Prices are Apple's US starting prices as of October 2026. Skip the $699 MacBook Neo: it has no Touch ID, which Hero uses for passkey sign-in and EPCS.

Why a MacBook?

Hardware-level encryption for PHI

While patient data is stored in the cloud, it's inevitable that browser cache, system memory, and local storage will contain unencrypted PHI — this is unavoidable for any EMR. Mac's built-in FileVault encryption and the Secure Enclave chip ensure that this data is always encrypted at rest, even if the laptop is lost or stolen.

Passkey & Touch ID support

Touch ID enables passwordless login via passkeys — faster and more secure than passwords. This also streamlines EPCS (Electronic Prescribing of Controlled Substances) authentication and enables offline mode for Hero EMR when internet is unavailable.

Remote wipe for lost or stolen devices

Apple's Find My and MDM support provide industry-leading remote wipe capabilities. If a laptop goes missing, you can instantly erase all data remotely — critical for HIPAA compliance and protecting patient information.

Built-in camera for telehealth

The MacBook Air and Pro's 12MP Center Stage camera keeps you framed during virtual visits, even as you move. No external webcam needed. Patients see a professional, well-lit image out of the box.

Excellent price-to-performance

The M5 chip delivers desktop-class performance at laptop prices. The 15" Liquid Retina display is ideal for reviewing charts and imaging. At $1,499, it costs less than comparable Windows machines with similar build quality.

Light enough to carry all day

At 2.7 to 3.3 lbs with a fanless design and up to 18 hours of battery, the MacBook Air goes anywhere: exam rooms, home, conferences. No charger needed for a full day of patient care.

Step 4

Phone System

Your practice numbers, phone tree, AI answering agent and desk phones, all managed in Hero under Admin → Soaper Phone.

1. Get your phone numbers

Hero sets up your numbers for you. Get a new local number, or bring the number your patients already know. Once a number is ready it appears under Admin → Soaper Phone → Numbers & Routing.

Hero provisions numbers

A new number

  1. Reply to your setup email with the area code (and city, if it matters) you want.
  2. Hero picks an available number with you and adds it to your practice.
  3. It's ready to use once it shows on the Numbers & Routing tab.

Keep your existing number (port it)

  1. Send Hero a recent bill from your current phone company, plus the account number and port-out PIN. Use the secure upload link Hero sends, not email.
  2. Hero prepares the transfer request (the letter of authorization) for you to sign and submits it.
  3. Your current carrier confirms a port date, and Hero tells you when it is.
  4. Keep your old service active until Hero confirms the port is done. A cancelled number can't be ported.

Then, for each number

  1. Open the number on Numbers & Routing.
  2. Under Emergency (911) address, register the office address, including the suite or floor. This is where 911 sends help.
  3. Set a Caller ID name (up to 15 characters) and choose whether to record incoming calls.
  4. Add a failover number, such as a cell phone, where calls go if Soaper Phone can't answer. Recommended.

Texting

Text reminders and two-way texting use a registered texting number. Carriers require a short registration of your practice first, and Hero handles it with you during setup.

2. Set up your phone tree

A phone tree decides what callers hear and where each call goes: open hours, a menu ("press 1 for scheduling"), a group of staff, the AI agent or voicemail.

Practice admin

Build it

  1. Hours: under Call Routing → Schedules, add your open hours and holidays.
  2. Who answers: under Call Routing → Ring groups, create a group (for example "Front desk"), add people, and pick how they ring: everyone at once, one at a time, or in rotation.
  3. Voicemail: create a voicemail box on the Voicemail tab.
  4. The tree: on Numbers & Routing → Phone trees, create a tree or start from a preset. Click a step in the diagram to edit it.
  5. Click Save draft, then Publish. New calls use the published tree right away.
  6. Open your number and choose the tree under Phone tree.

Step types

Business hoursopen / closed / holiday
Menupress 1, 2, 3…
Announcementplay a message
Ring peoplea ring group
AI agentAI answers the call
Forward outsideanother number
Voicemailtake a message
Hang upend the call

Until a tree is published, calls go to your failover number.

3. Set up the AI answering agent

The AI agent answers calls your phone tree sends to it. It can book and move visits, register new patients, take messages and answer common questions, and it hands the call to a person when it should.

Practice admin

Turn it on

  1. Go to Admin → Soaper Phone → AI Agent and turn on Enable the AI answering agent.
  2. Write the greeting callers hear first, and an after-hours message.
  3. Under What the agent can do, keep the tasks you want it to handle and turn off the rest. Off means it can't do that task at all.
  4. Under Where the agent can transfer calls, pick the ring groups, people or voicemail boxes it may hand calls to, and when to use each (for example, billing questions → Billing).
  5. Add practice instructions (parking, referrals) and escalation instructions (when to get a person).
  6. In your phone tree, add an AI agent step where you want it to answer (all day, or after hours only), then publish.

What it can do

Schedulebook new visits
New patientstexts a registration link
Reschedule / cancelexisting visits
Messagesdelivered to your inbox
Questionshours, locations, insurance, doctors
Transferto staff or voicemail

Answers to practice questions come from Admin → Clinic Information, so keep hours, locations and accepted insurance up to date. Review calls on the Agent Log tab.

4. Set up a desk phone

Physical phones, like Yealink or Poly, ring along with Hero's softphone. Any desk phone that supports SIP over TLS with encrypted audio (SRTP) works. Each phone gets its own login from Hero.

Ask Hero to turn on
Before you start: ask Hero to turn on desk phones for your practice. Hero also sets up each office as a desk-phone location, tied to a number with that office's 911 address.

Add the phone in Hero

  1. Go to Admin → Soaper Phone → Devices & Dial-out.
  2. Under Desk phones, click Add desk phone.
  3. Name it (for example "Front desk - Yealink"). Choose Personal for one person's phone, which rings with their softphone, or Shared for a phone anyone can answer.
  4. Pick the office location where the phone will sit, then click Add phone.
  5. Hero shows the phone's settings only once. Keep the window open, or print it, while you set up the phone.
  6. Shared phones only ring from a ring group: add it under Call Routing → Ring groups.

Settings to enter on the phone

SIP serversip.telnyx.com
TransportTLS
Port5061
Encrypted audio (SRTP)Required
Registration expiry120
CodecsG.722, G.711 µ-law (PCMU)
Username / passwordfrom Hero's setup sheet

Yealink

  1. Press OK on the phone (or Menu → Status) to see its IP address.
  2. On a computer in the same office, type that IP address into the browser and sign in (default admin / admin).
  3. Account → Register: Line Active = Enabled; Register Name = the Authentication username; User Name = the SIP username; Password; Server Host = sip.telnyx.com; Port = 5061; Transport = TLS; Server Expires = 120.
  4. Account → Advanced: RTP Encryption (SRTP) = Compulsory.
  5. Account → Codec: make sure G722 and PCMU are enabled. Click Confirm.

When it's connected

  1. Within a minute the phone shows the line as registered, and Hero shows it as Registered.
  2. Don't use the phone's Transfer button. A transfer from the desk phone ends the call. Hold works normally.
  3. Lost the password? Click Reset password on the phone's row in Hero and enter the new one on the phone.
  4. "Registration failed"? Check the username, password, port 5061 and TLS.

Test 911 once on every new desk phone

  1. Once the phone shows Registered, dial 911 from it.
  2. When the dispatcher answers, say right away that this is a test call from a new office phone and there is no emergency. Don't hang up before you've said it, or they may call back or send someone.
  3. Ask the dispatcher to confirm the address they see. It should be that office's address, including the suite.

Hero alerts your phone admins whenever 911 is dialed, so expect that alert. If you hear a recorded message instead of a dispatcher, or the address is wrong, hang up and tell Hero right away. Until the test works, use a cell phone or another line for emergencies.

Outbound calling AI

Hero's AI will place routine calls for your team, wait on hold, and bring a person in when one is needed.

Coming soon
  • Calls insurance companies to check benefits, eligibility or claim status, and works through their phone menus for you.
  • Waits on hold so your staff don't have to.
  • When a representative picks up and a person is needed, it calls the staff member who asked and connects them.
Step 5

Additional To-Do List

Final practice setup items to handle before you wrap onboarding.

P

Obtain practice phone number

Set up a dedicated main line for patient calls, website contact details, and practice operations. Get a new number from Hero or port your existing one (see Step 4).

D

Delegate your practice domain

Keep ownership of your domain, but let Hero manage the DNS records needed for your website, portal, secure subdomains, and email authentication.

How to update your nameservers

Hero's standard Cloudflare nameservers are listed below. Add both at the company where you bought the domain, then reply to our setup email when the change is saved.

You keep ownership

General steps

  1. Log in to the registrar where your domain was purchased.
  2. Open the domain's DNS, nameserver, or domain management page.
  3. Choose custom nameservers instead of the registrar's default nameservers.
  4. Replace the existing nameservers with Hero's two Cloudflare nameservers.
  5. Save the change, then send Hero a confirmation screenshot or reply.

Use Hero's Cloudflare nameservers

mona.ns.cloudflare.com tosana.ns.cloudflare.com

These are Hero's standard nameservers. If Hero sends a different pair for your specific domain, use the pair in that setup email.

GoDaddy

  1. Open your domain portfolio and select the domain.
  2. Go to DNS, then Nameservers.
  3. Select Change Nameservers, then enter custom nameservers.
  4. Add both Cloudflare nameservers from Hero and save.
GoDaddy help article

Namecheap

  1. Open Domain List, then Manage for your domain.
  2. Find the Nameservers section.
  3. Choose Custom DNS.
  4. Enter both Cloudflare nameservers from Hero and save.
Namecheap help article

Porkbun

  1. Open Domain Management.
  2. Click Details for your domain.
  3. Find Authoritative Nameservers or Edit Nameservers.
  4. Replace the existing values with both Cloudflare nameservers from Hero.
Porkbun help article

Squarespace / Google Domains

  1. Open your domain in Squarespace Domains.
  2. Go to DNS, then Nameservers.
  3. Choose to use custom nameservers.
  4. Add both Cloudflare nameservers from Hero and save.
Squarespace help article
If your domain already handles email, send Hero a screenshot or export of the current DNS records before saving the nameserver change. We will preserve required email records such as MX, SPF, DKIM, and DMARC.
Step 6

Training Videos

Task-first walkthroughs recorded in Hero EMR itself, for training the people who will use it every day. Hand them to a new hire in order, or send a single one when a question comes up.

Front Office Training

10 videos · 1 hr 12 min

Everything a new front desk hire meets in their first week, in roughly the order they meet it, from signing in to taking a payment. Each video stands on its own, so they work as refreshers too.

01

Getting around Hero EMR

6:31

Signing in, the two toolbar rows, finding a patient with Chart search, Patient Information, the assistant keys, the to-do list, and dark mode.

02

The calendar in depth

6:58

The day table column by column, the preview pane, every right-click menu, week, month and team views, Next opening, Highlight gaps, and the waitlist rail.

03

Booking, rescheduling and cancelling

7:33

Booking from Available Time Slots, the waitlist, rescheduling, the cancel dialog and its reasons, and a real Shuffle batch staged and applied when a provider calls in sick.

04

Registering a new patient

7:08

The three doors a new patient arrives through — the website booking widget, a phone call, and the front desk — then the portal invite, Complete Signup, and scanning an insurance card.

05

Check-in and pre-visit readiness

7:11

The Previsit column, Visit Readiness in the preview pane, checking a patient in at the desk, and when to hand someone the kiosk instead.

06

Phones, voicemail and the AI agent

7:07

The softphone dock and its status, do not disturb, calling a patient, transferring a call, voicemail, and what the AI agent does when nobody picks up.

07

The Inbox for the front desk

7:12

Patient messages routed to the desk, writing and sending a reply, sorting and filtering the queue, website inquiries, and what to hand to a clinician.

08

Faxes and referrals

7:12

Working the shared fax queue — the folders, linking a fax to the right chart, creating a chart from one, marking it done — and accepting an inbound referral.

09

Walk-ins and the Waiting Room

7:38

The board end to end: Mark arrived, Triage, Room and Discharge, acuity, reaching a patient by call or text, the copay chip, and the patient’s own phone sign-up.

10

Payments, balances and statements

7:01

Where a patient’s balance lives, taking cash and checks with the change worked out for you, statements singly and in bulk, the Day Sheet, and how patients pay in the portal.

Clinician Training

16 videos · 1 hr 44 min

For physicians, nurse practitioners and therapists, in the order to watch them, from finding your way around to signing and coding a visit. The rest of the series is being recorded and will appear here as each one is finished.

01

Your day in Hero EMR

7:32

How a physician’s screen is organized, from Home and the calendar through the chart and the tools on the wand, so every later video starts from familiar ground.

02

Virtual visits

5:57

A telehealth visit in Hero: how it is set up, where the patient and you join, and how Hero captures the conversation for your note.

03

Writing a note

6:53

Writing a note by typing: opening the visit, the editor and its toolbar, bringing chart data in, the AI helpers, and quick notes for work that happens outside a visit.

04

Ambient dictation

6:55

Recording a visit so Hero writes the note from your conversation with the patient, and what to do when a recording needs attention.

05

Ambient options and split notes

8:35

Every choice that shapes the note Hero writes from a recording: the template, the chart context it reads, the writing engine, and split psychiatry and psychotherapy notes.

06

Setting up templates

7:03

Building the templates Hero uses for dictated notes: copying a standard template, what a template’s text means to Hero, the AI Wizard, testing a template, My templates, and visit types.

07

Dot phrases in depth

7:06

Inserting dot phrases, the ones Hero ships with, the ones that pull live data from the chart, building your own with blanks and dropdowns, and phrases that carry forward from visit to visit.

08

Questionnaires

7:18

The library of standard instruments, making your own version, sending them automatically before visits, and reading the results, including bringing them into your note.

09

Autofill: what Hero fills in when you save

5:32

What Hero drafts when you save a note, where each suggestion lands, which ones wait for your approval, and how to review all of it before you sign.

10

Medications and e-prescribing

6:14

Reading the medication list, writing and sending a prescription, pharmacies, cancelling, and answering renewal and refill requests.

11

EPCS and the PDMP

4:12

What must be set up before you can prescribe controlled substances electronically, signing one with two-factor approval on your phone, and checking the state PDMP.

12

Labs and imaging

5:36

From order to result: ordering a test, order sets, the paper requisition, how results arrive, reviewing and trending them, and telling the patient.

13

Instructions, handouts, homework, and letters

6:12

What the patient takes home: the after-visit instructions Hero drafts, education handouts, homework between visits in the My Hero app, and work and school letters.

14

Completing and signing a visit

6:39

Encounter Completion section by section, the checks that must pass before you sign, what signing does, and how to change a visit after it is signed.

14+

Supervisory signing (NPs and PAs)

3:32

An NP or PA routes a controlled prescription to their supervising physician, who reviews the prescription history and the PDMP line, adjusts it if needed, and signs and sends it from the Inbox.

15

Coding and billing for clinicians

6:24

Your part of billing: choosing the E/M level, procedures with modifiers and diagnosis links, place of service, cash pay and no charge, and what happens to the claim after you sign.

Billing Training

11 videos · 71 min

For billing staff and practice administrators: an overview and shared setup, then the videos for your practice’s payment model — cash, membership, or insurance.

00

Billing in Hero: overview

5:23

Where billing lives, who can see money, how a signed visit becomes a charge, a claim, or an invoice, and where you check on it each day.

01

Shared setup

7:10

Staff access, Stripe, the payment model, missed-appointment fees and statements, the Service Menu, per-patient rules, and testing it all in the Simulator.

02

Setting up a cash practice

7:16

Cash prices, what patients pay up front, saved cards and auto-charge, missed-visit fees, and public pricing.

03

Running a cash practice day to day

6:46

Deposits and saved-card charges, the bill after the visit, payments and adjustments, superbills, missed-visit fees, statements, and reports.

04

Setting up a membership (DPC) practice

6:22

Stripe, subscription settings, membership plans, switching to DPC in the right order, and what memberships cover.

05

Running memberships day to day

6:04

Enrolling patients, covered visits and extras, failed payments, changing and cancelling memberships, and the month-end numbers.

06

Insurance setup

6:54

What Hero configures and what your practice owns: the clearinghouse, the daily claim batch, remittances, billing identity, place of service, list prices, and permissions.

07

Insurance cards, eligibility, and COB

6:29

Getting the card right, eligibility checks, the Pre-visit worklist, coordination of benefits, and secondary claims.

08

The claims pipeline, day to day

6:50

The Billing Monitor, the Action Center lanes, fixing claims at the source, holds, the daily batch, and acknowledgements.

09

Getting paid: ERAs, EOBs, denials, and refiling

6:11

Posting remittances and paper EOBs, working denials and underpayments, appeals, and refiling the right way.

10

Patient balances and month-end close

5:59

Patient AR, statements and reminders, credits and overpayments, stuck claims, and the month-end reports.